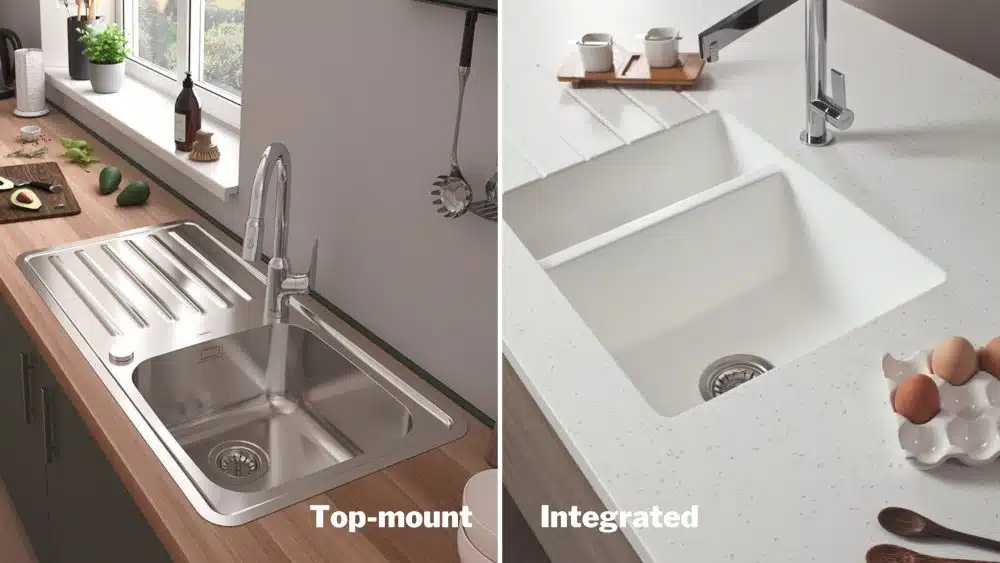
I have a top mount kitchen sink that sits on a solid surface countertop. After a while, the white sealant around the edges of the sink will turn black and mouldy.
This makes the kitchen look bad, and may also cause water to leak through the gaps, and damage the kitchen cabinets underneath.
But, with a few simple steps, it’s easy to reseal your kitchen sink. Here are the steps:

STEP 1: Equipment
It shouldn’t cost you more than RM30 to get everything you need.
A sealant or caulk gun (RM5.50). The standard tube of sealant will fit nicely in this gun.
White silicone sealant (RM5.80). It usually comes in white, clear, and grey colours. I prefer the white. Make sure you don’t accidentally buy filler grout, which is a different material used to fill cracks in the wall.
A pen knife (RM1.80) for scraping away the old mouldy sealant.
A spray bottle filled with some soapy water (RM2.68). Soapy water prevents the new sealant from sticking everywhere, so it’s easier to wipe away the excess sealant after application.
Ice cream sticks (RM0.89). I used these to wipe away the excess sealant since the rounded shape gives the sealant a nice curved edge. If you don’t want to buy this, you can always use your soapy finger to wipe.
STEP 2: Scrape away the old sealant
With the pen knife, carefully scrape away the old sealant. The old sealant is very rubbery, so it’s hard to scrape. Instead, what you should do is carefully cut along the top and bottom edge of the sealant, dig it out so you can grab it with your fingers, then pull the entire strip out gently.


STEP 3: Make the area clean and dry
Sealant won’t stick to dusty, soapy or oily surfaces, so make sure you sweep away the old bits of sealant, then wipe and dry the area.

STEP 4: Prepare the sealant and sealant gun
The tube of sealant should come with an applicator tip. Cut the applicator tip at a 45 degree angle. This will allow you to squeeze the sealant deep into the gaps later on. Then, cut the opening of the tube of sealant and screw the applicator tip on. Finally, load it into the sealant gun.


STEP 5: Apply
Gently squeezing the plunger, apply an even bead of sealant along one edge. Don’t worry if you squeeze too much, since you will wipe it away later.

STEP 6: Wipe away excess sealant
Use an ice cream stick to wipe away the excess sealant. The rounded edge of the ice cream stick is great to ensure a nice curved edge.


STEP 7: Repeat for all edges
Repeat the process of sealing up all sides of the kitchen sink, and wiping away to excess. Pay attention to the corners as you will need to have a steady hand to follow the curve of the sink.
STEP 8: Leave to dry
The sealant needs to cure for at least 8 hours (24 hours is even better). At this time, it will emit chemical fumes, so you need to keep the area well ventilated.

A nice even edge on all sides!
That’s all you need to do! And as a bonus, after resealing one kitchen sink, there should be more than half a tube of sealant remaining for you to tackle other areas.
Can’t be bothered to DIY?
If your time is needed elsewhere, it’s better to hire a handyman at Recommend.my to do this job for you. Make a list of all the little tasks you need done around the house (e.g. hanging a shelf, patching a wall, resealing the shower partition) and let our handyman do it all at once.


