Any old electrical appliance will gather dust after a while. The same goes for table fans.
You may clean the fan blades regularly, but have you ever cleaned the inside of the fan casing? It’s not difficult to do!
Cleaning the inside every few months will help to reduce dust build up, which can cause overheating and noise.
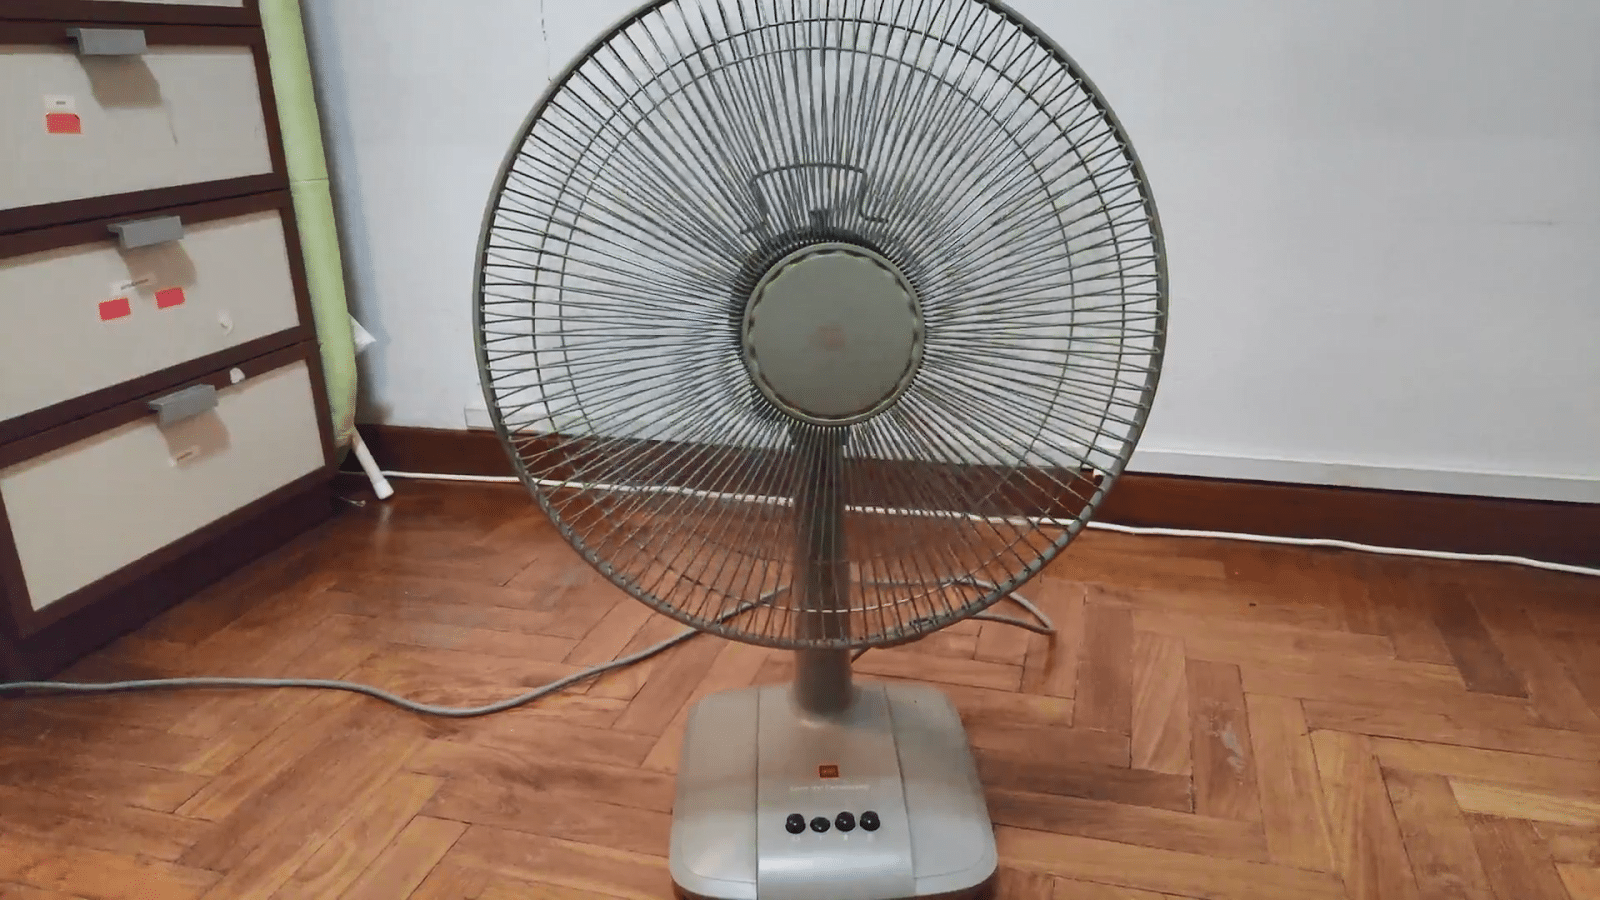
Here are the steps to clean the inside of a table, or desk fan. In this case, we will be cleaning a KDK 16 inch table fan. Other brands may have slightly different steps
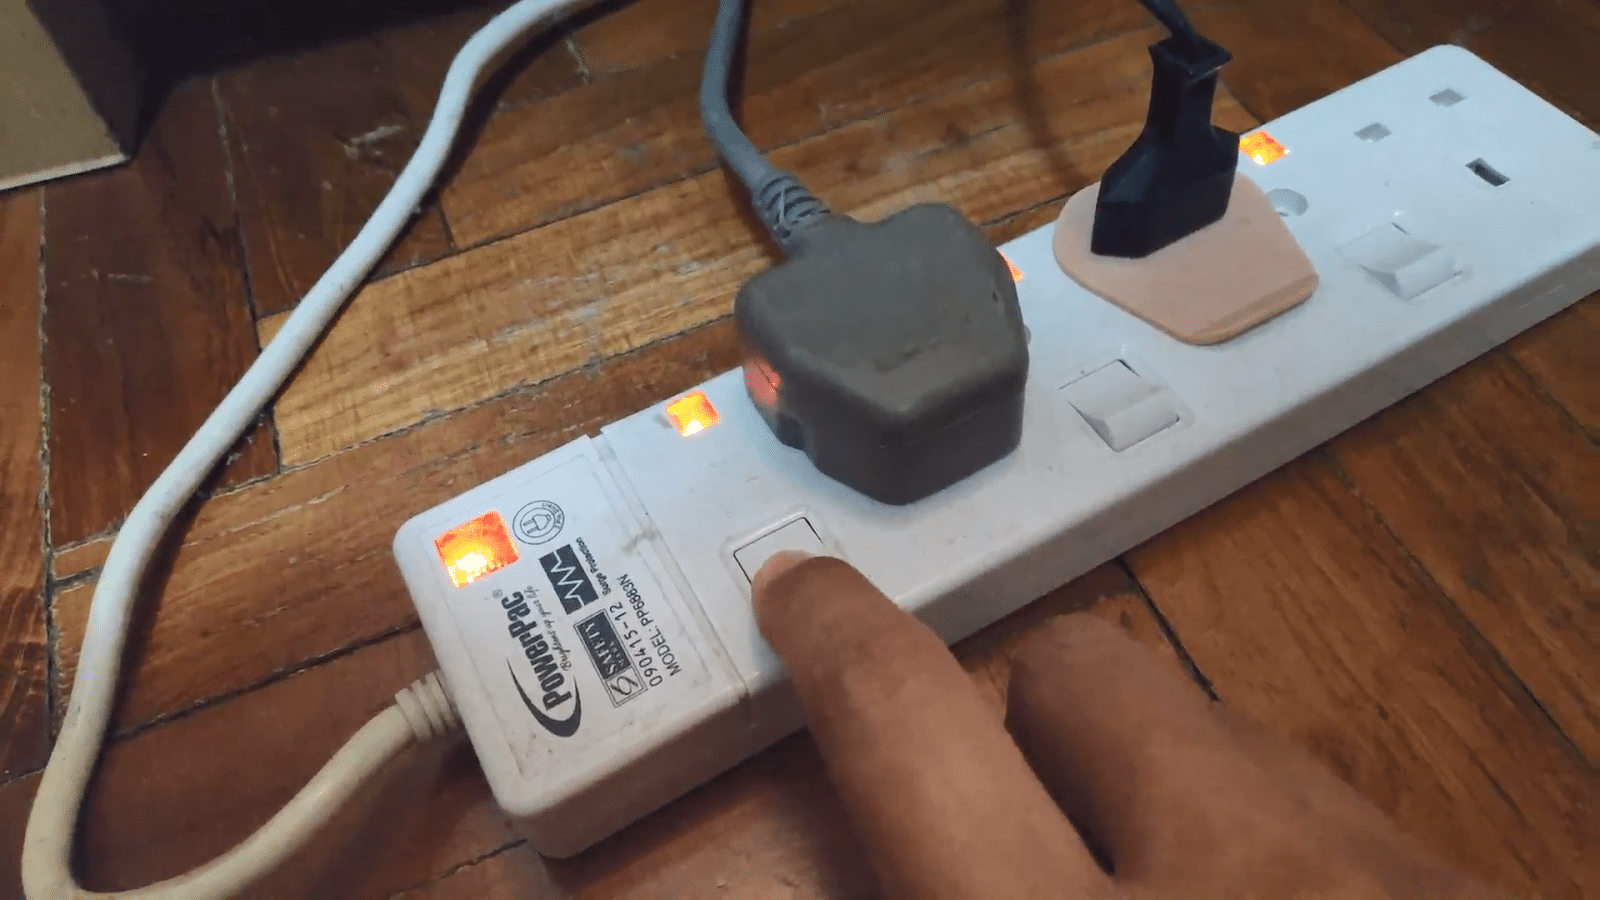
STEP 1: Switch off the power and unplug the fan
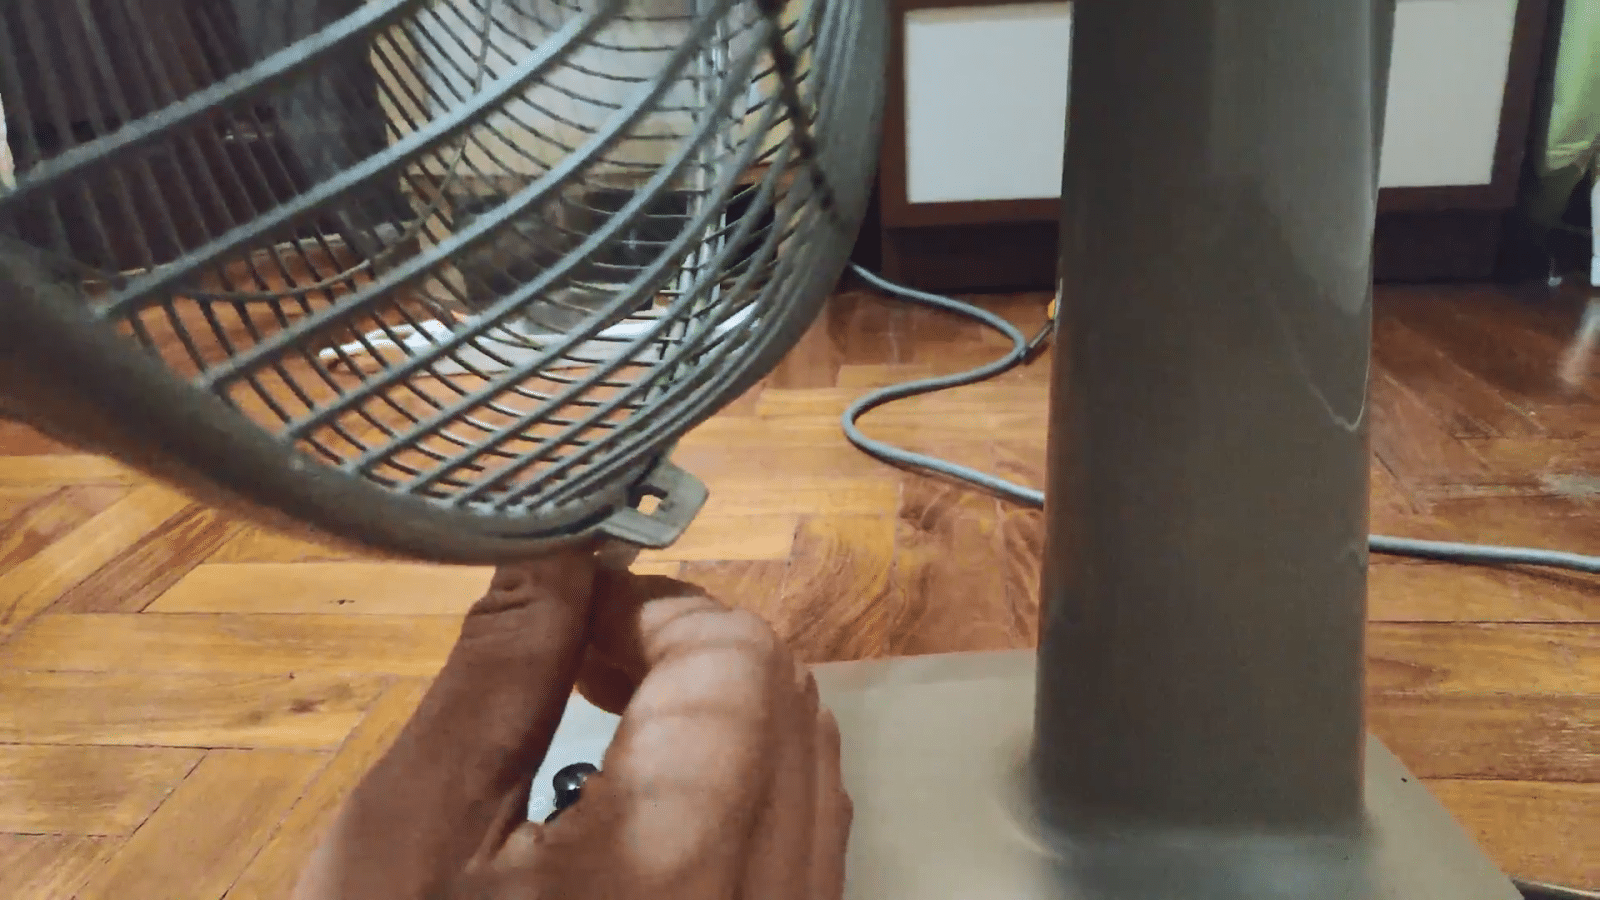
STEP 2: Remove front fan cage
The fan cage consists of the front and back cage. To remove the front cage, unclip it at the bottom. Pull the clip down and towards the front of the fan. Then, lift up and unhook the front cage off the top.
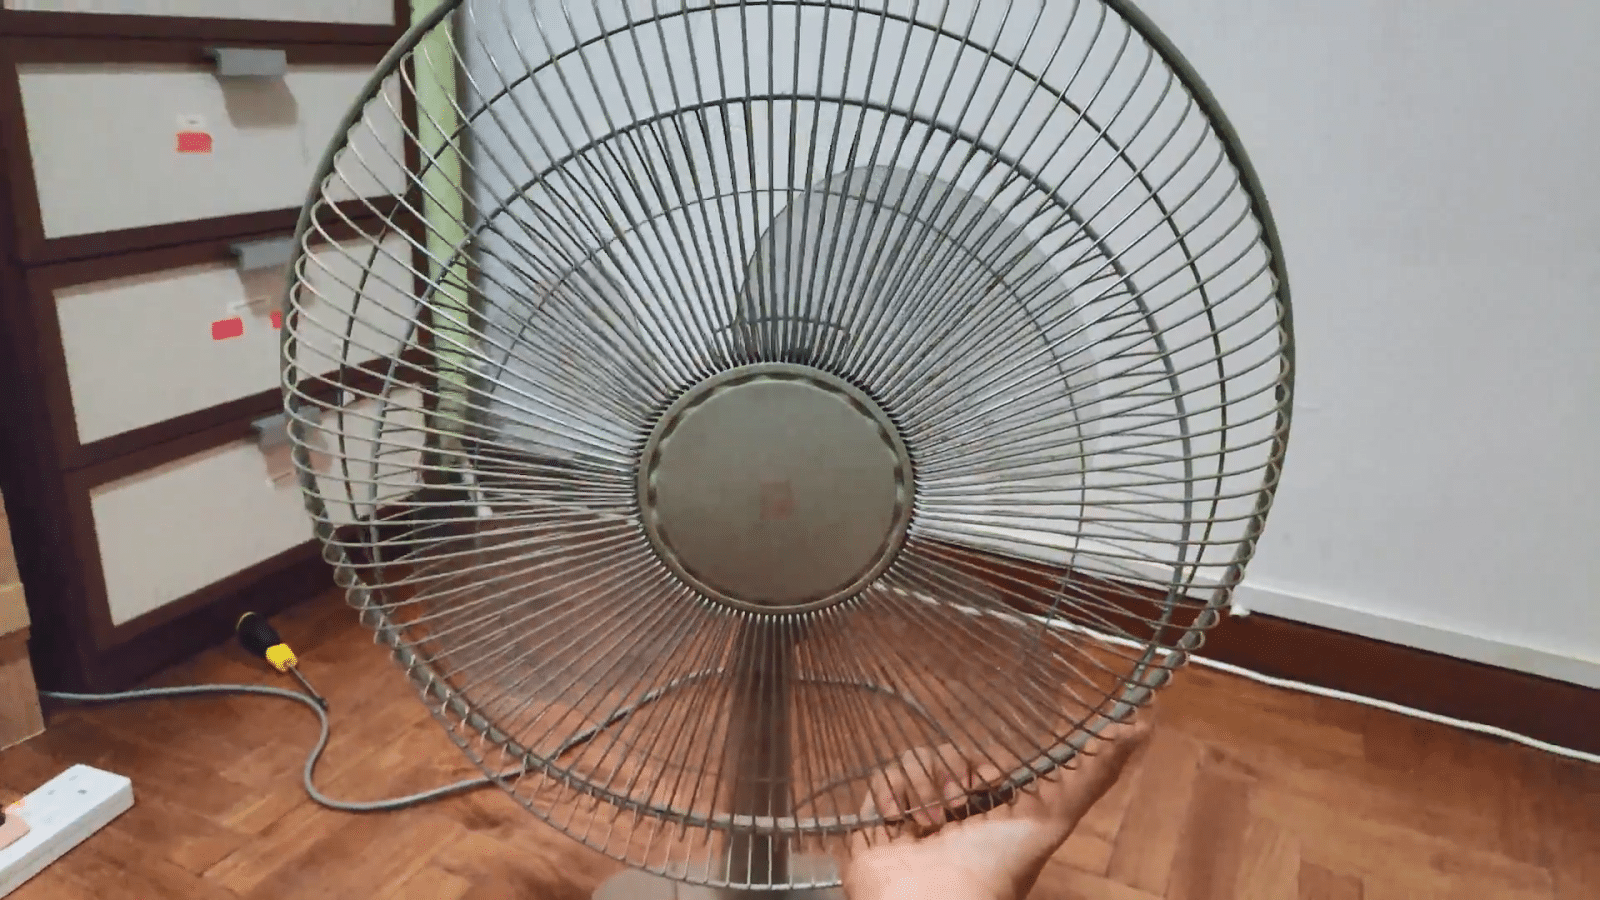
2) Remove fan blade
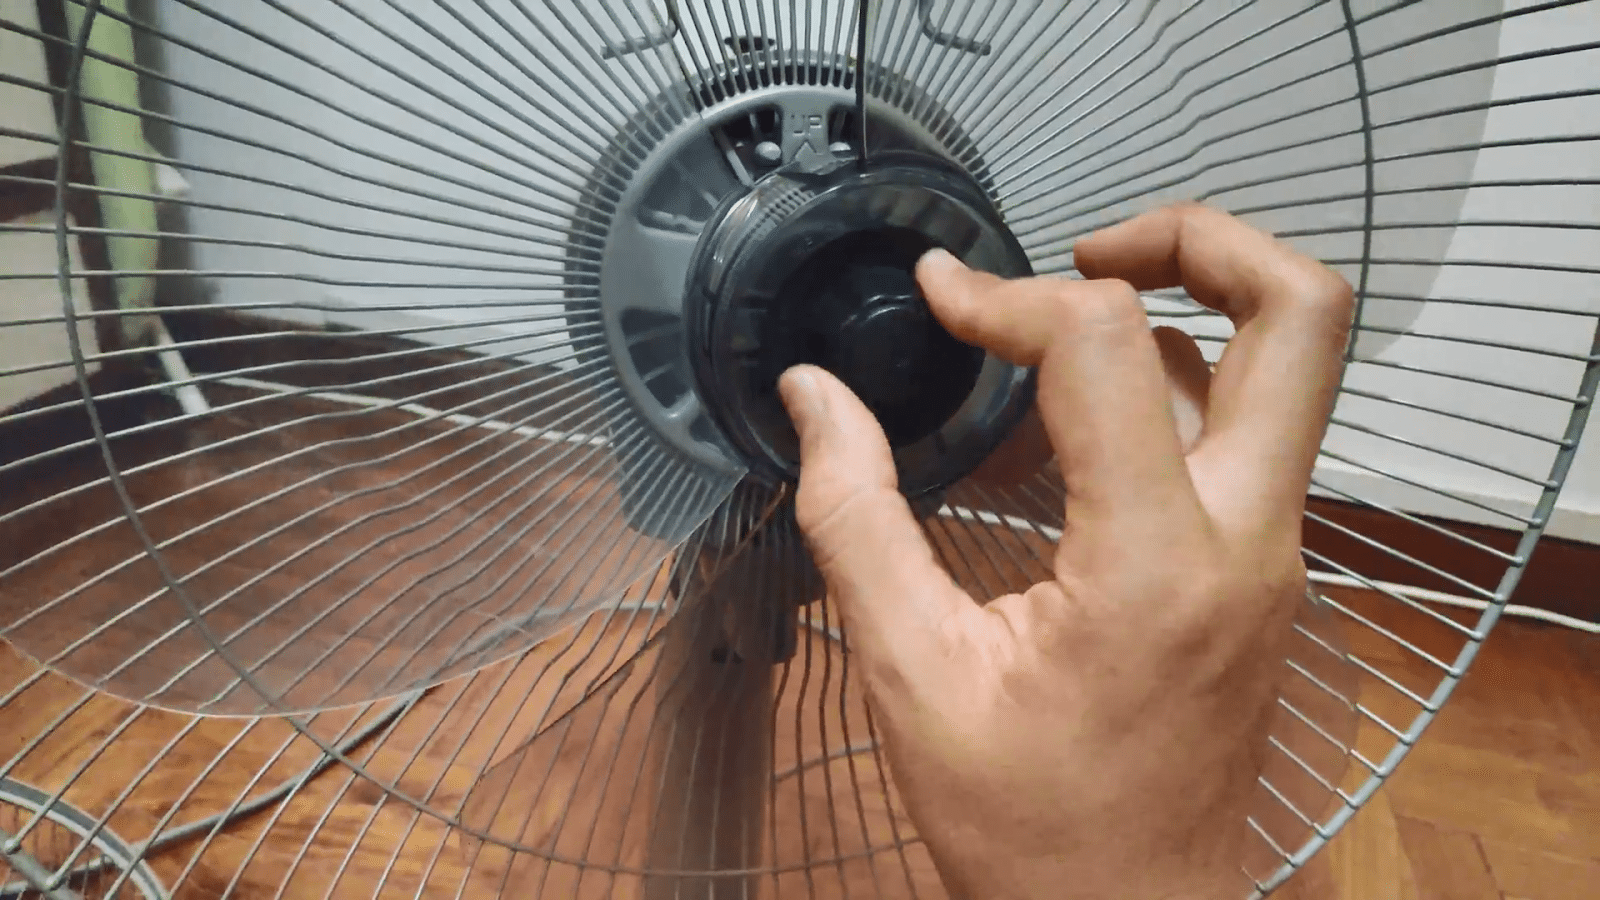
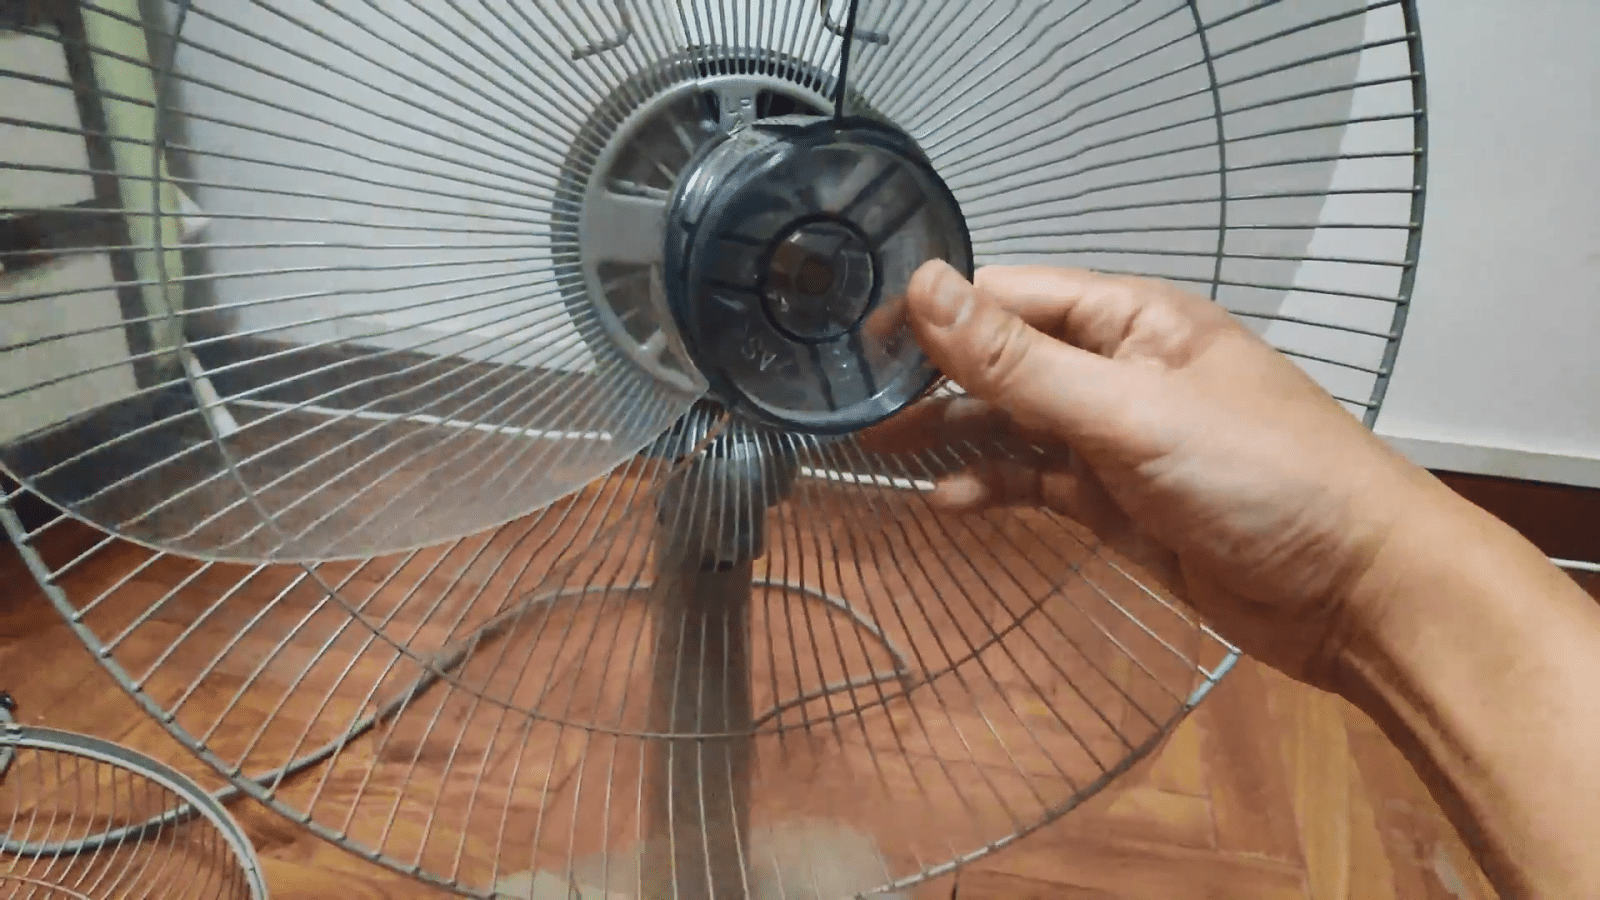
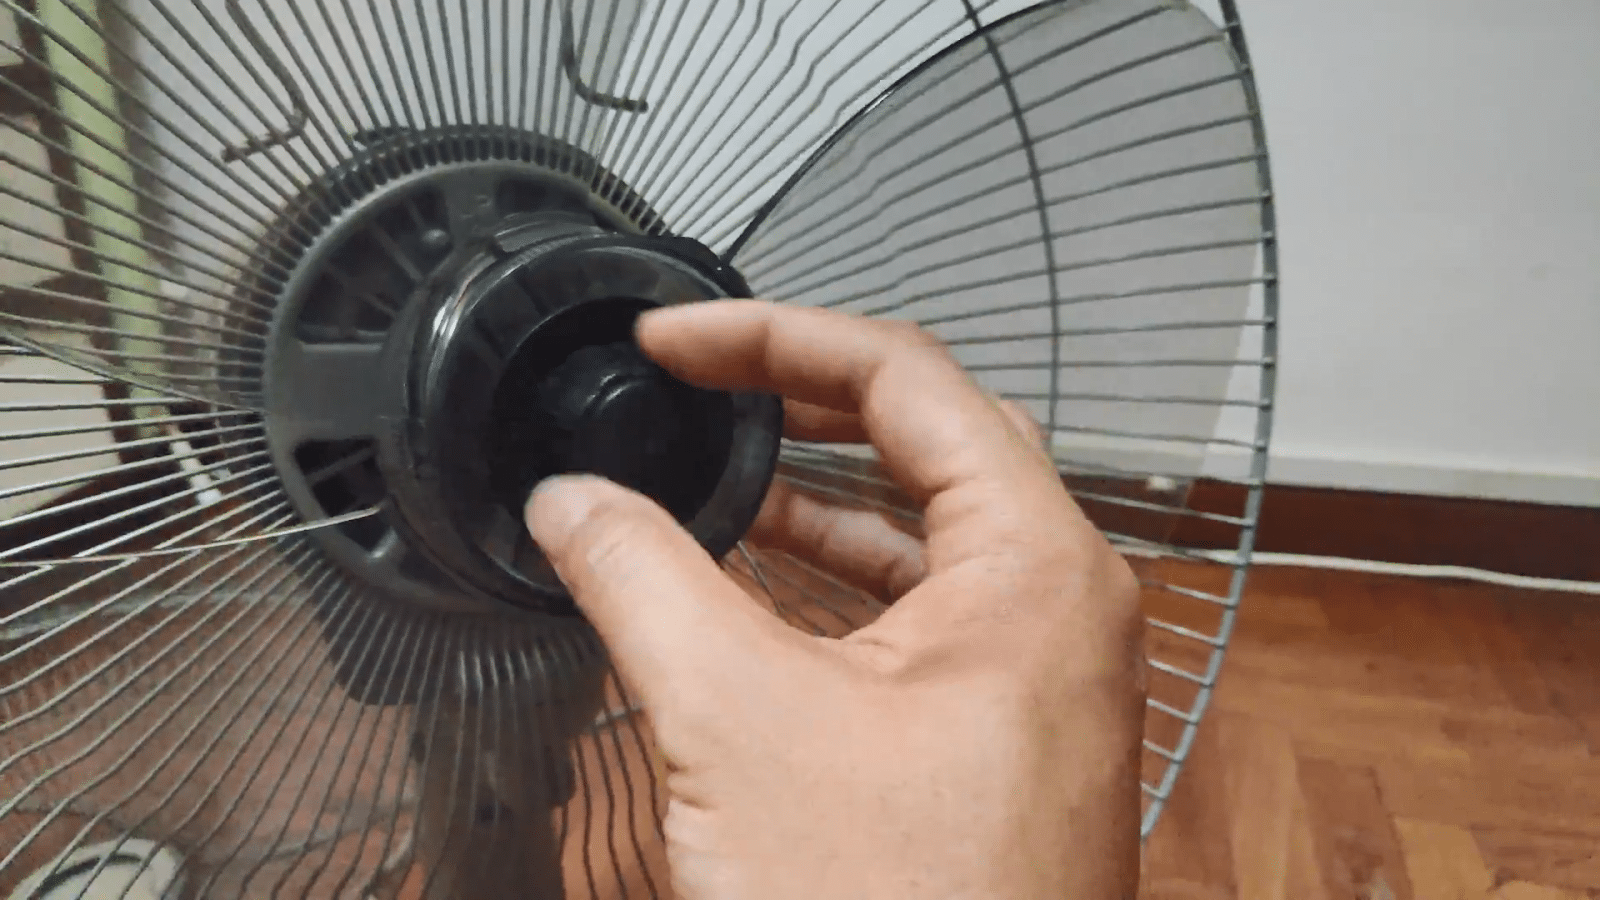
To remove the fan blade, unscrew the cap at the front. In most fan models, you turn the cap clockwise to unscrew it, not anti-clockwise. Then, slide the fan out of the fan shaft.
3) Remove rear fan cage
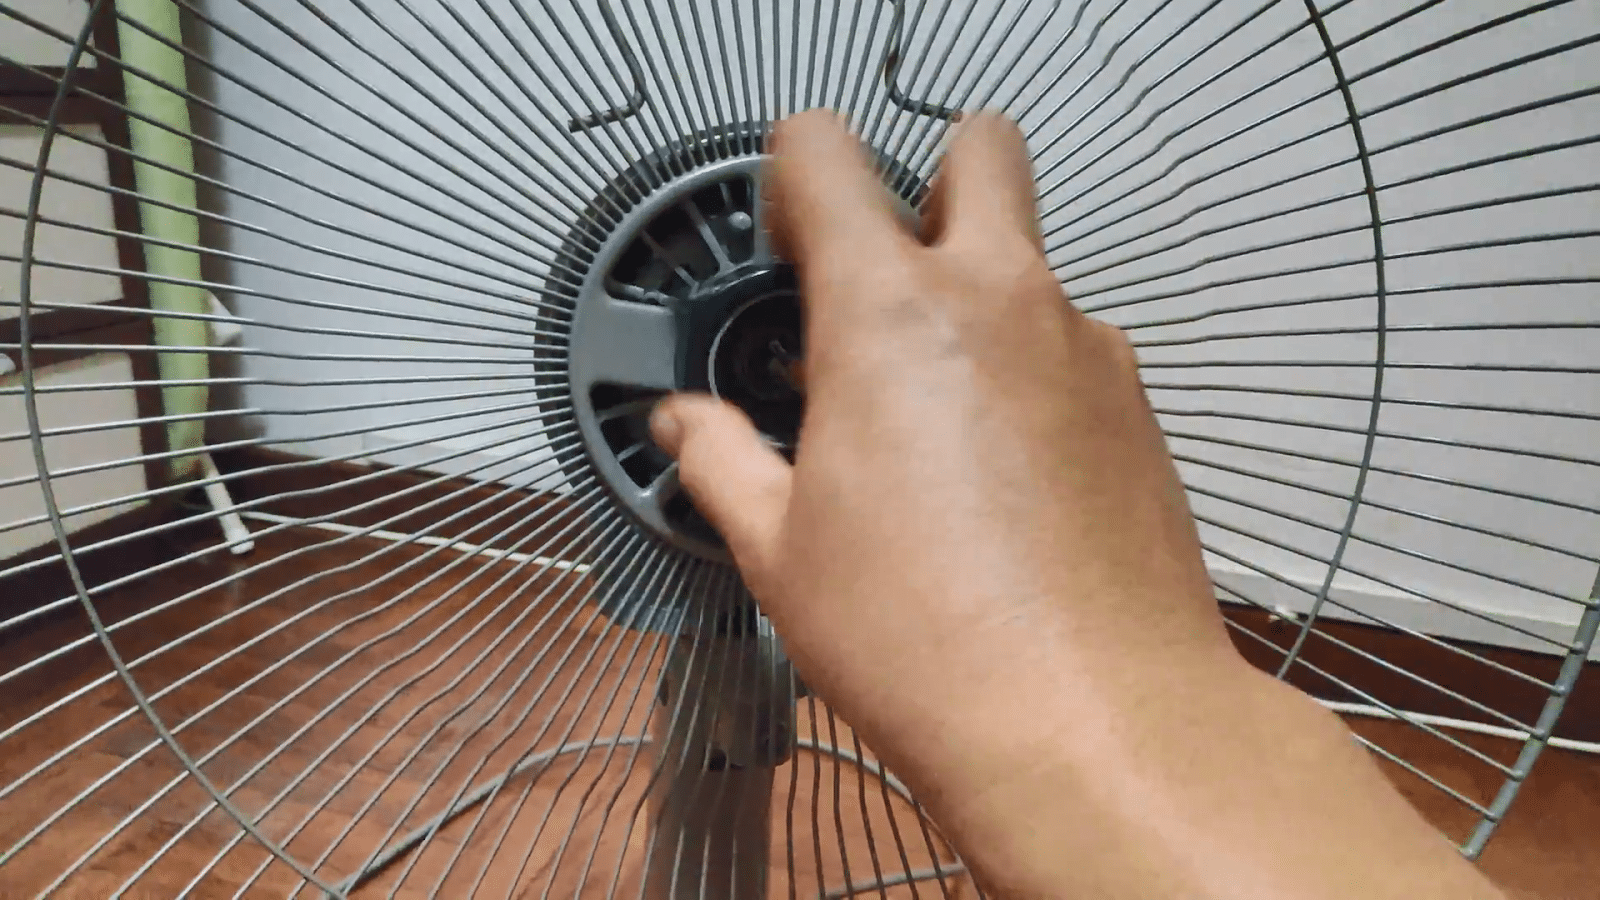
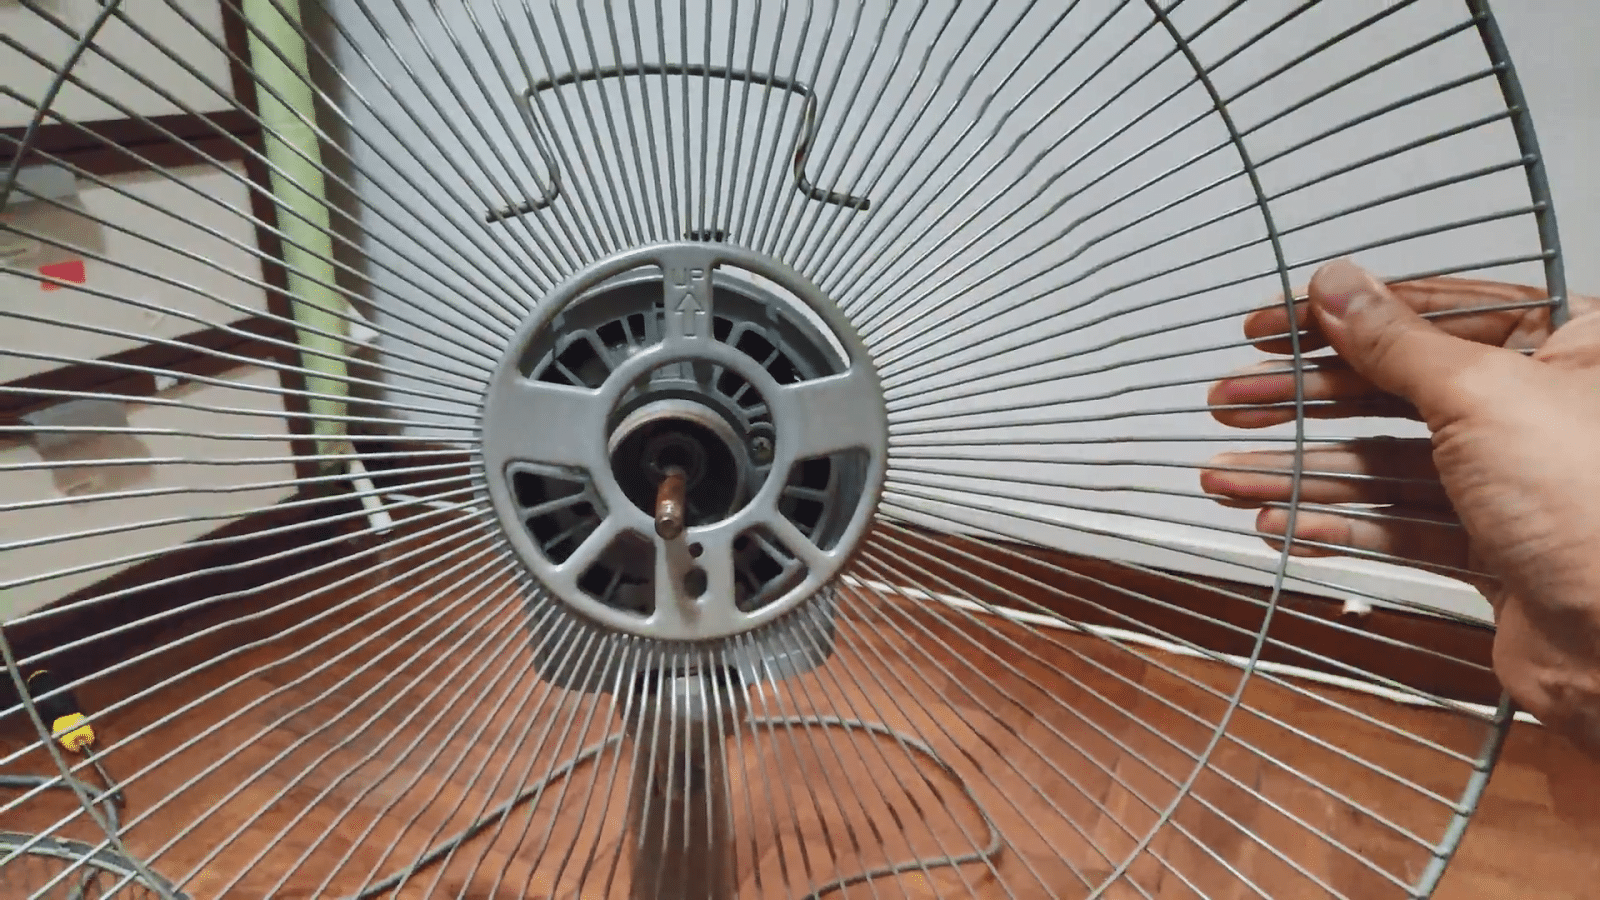
After the fan blade has been removed, unscrew the nut holding the rear fan cage. This one unscrews anti-clockwise as normal.
4) Unscrew fan casing
Now for the fan casing. There should be three screws at the front, and one at the back. Remove them all with a phillips head screwdriver.
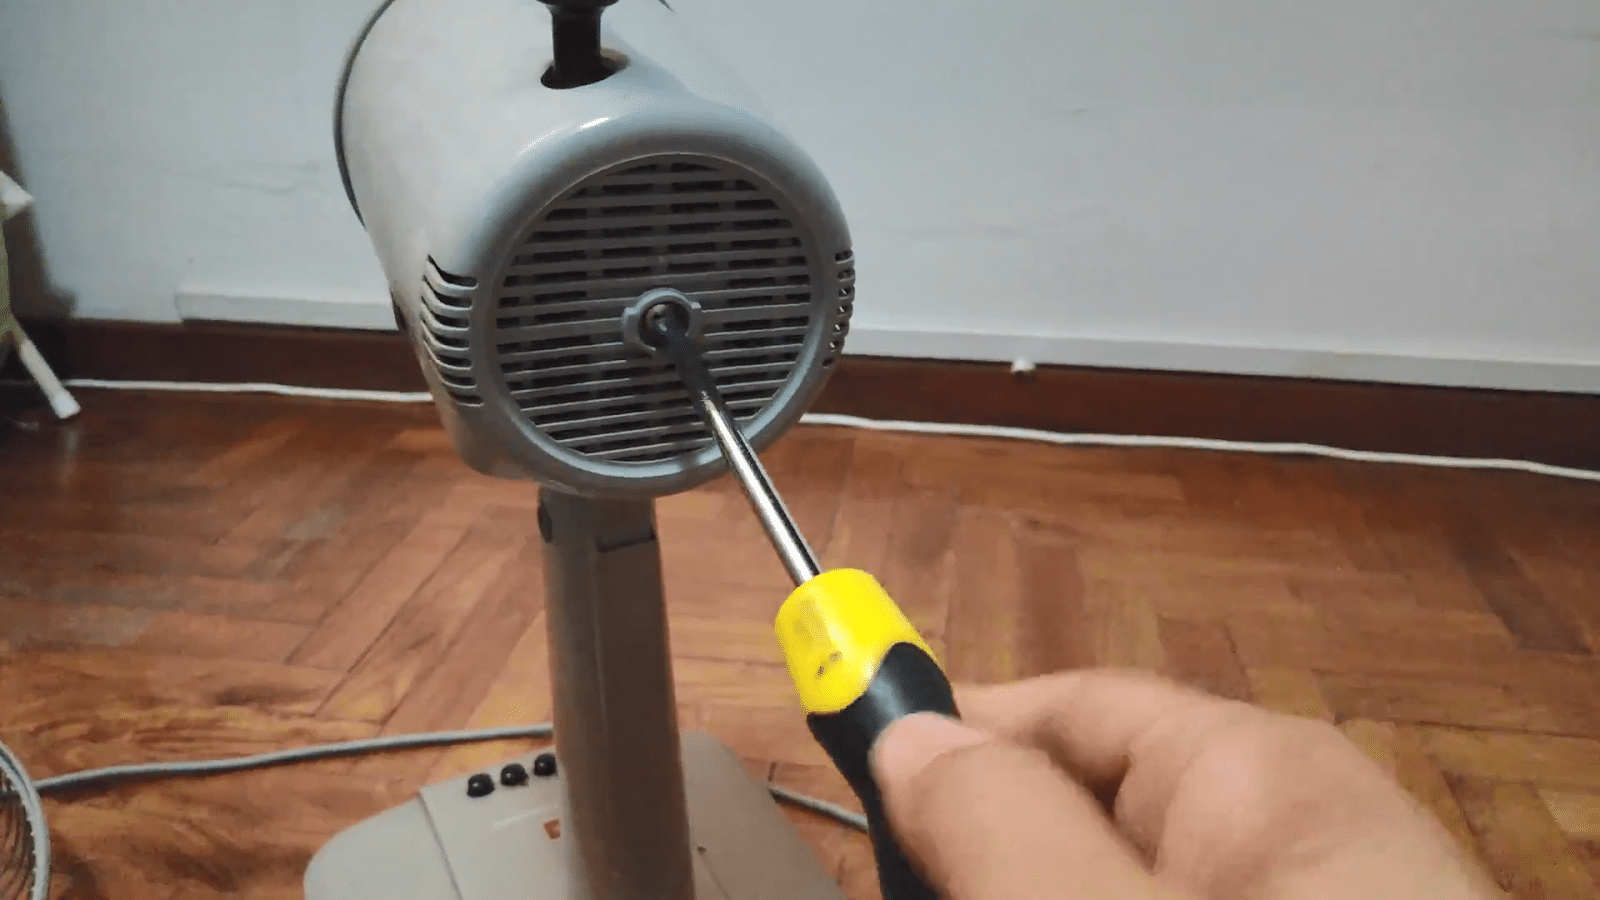
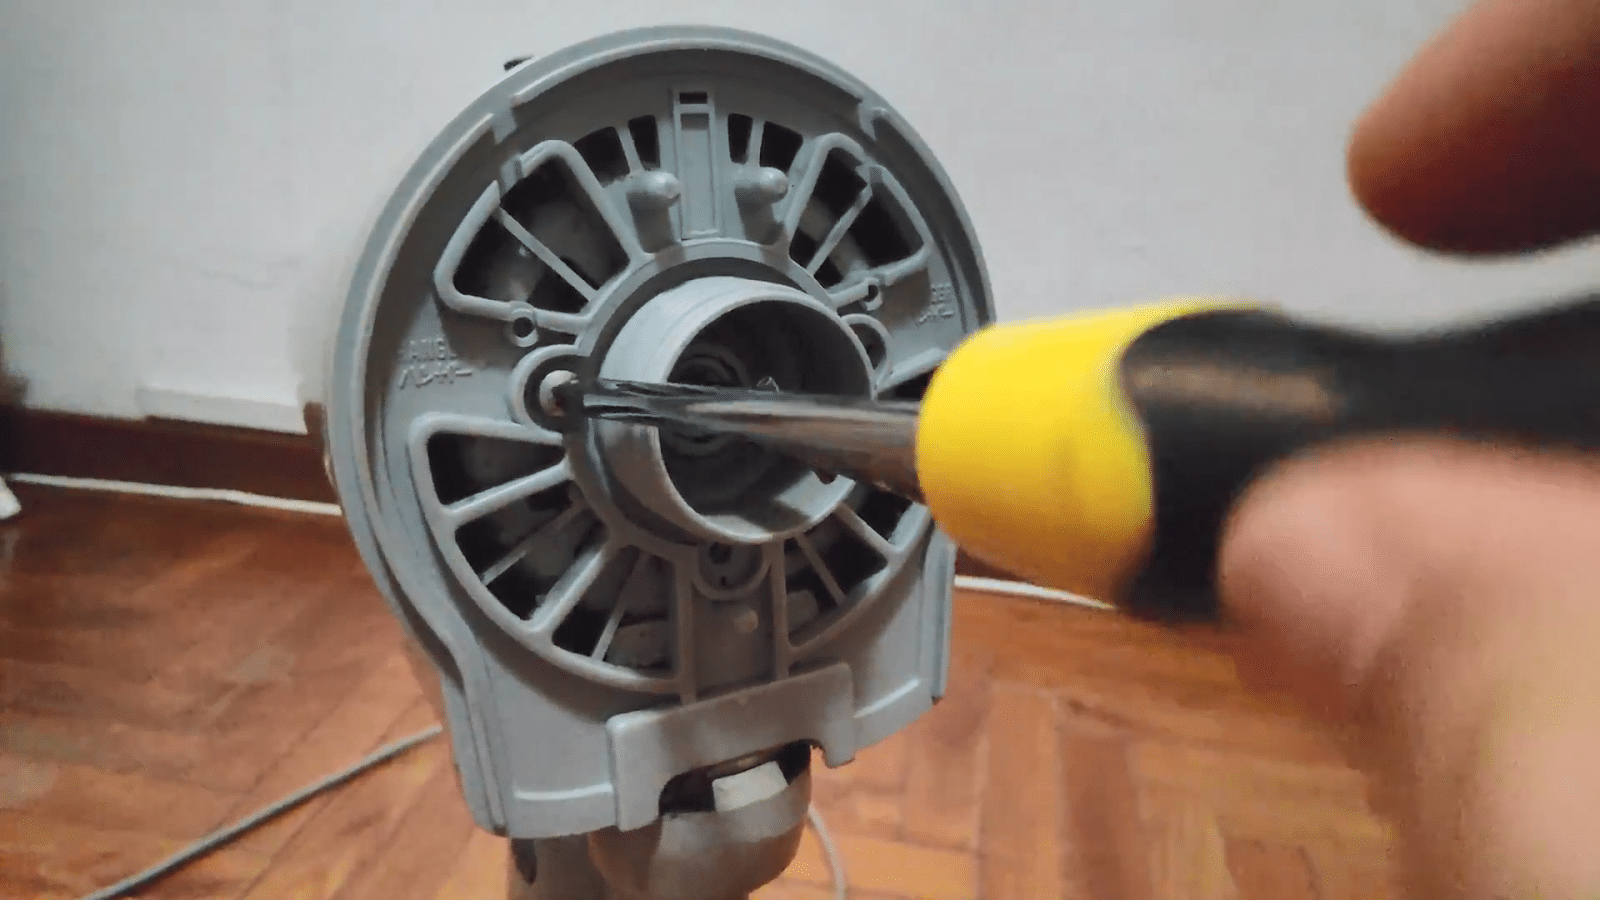
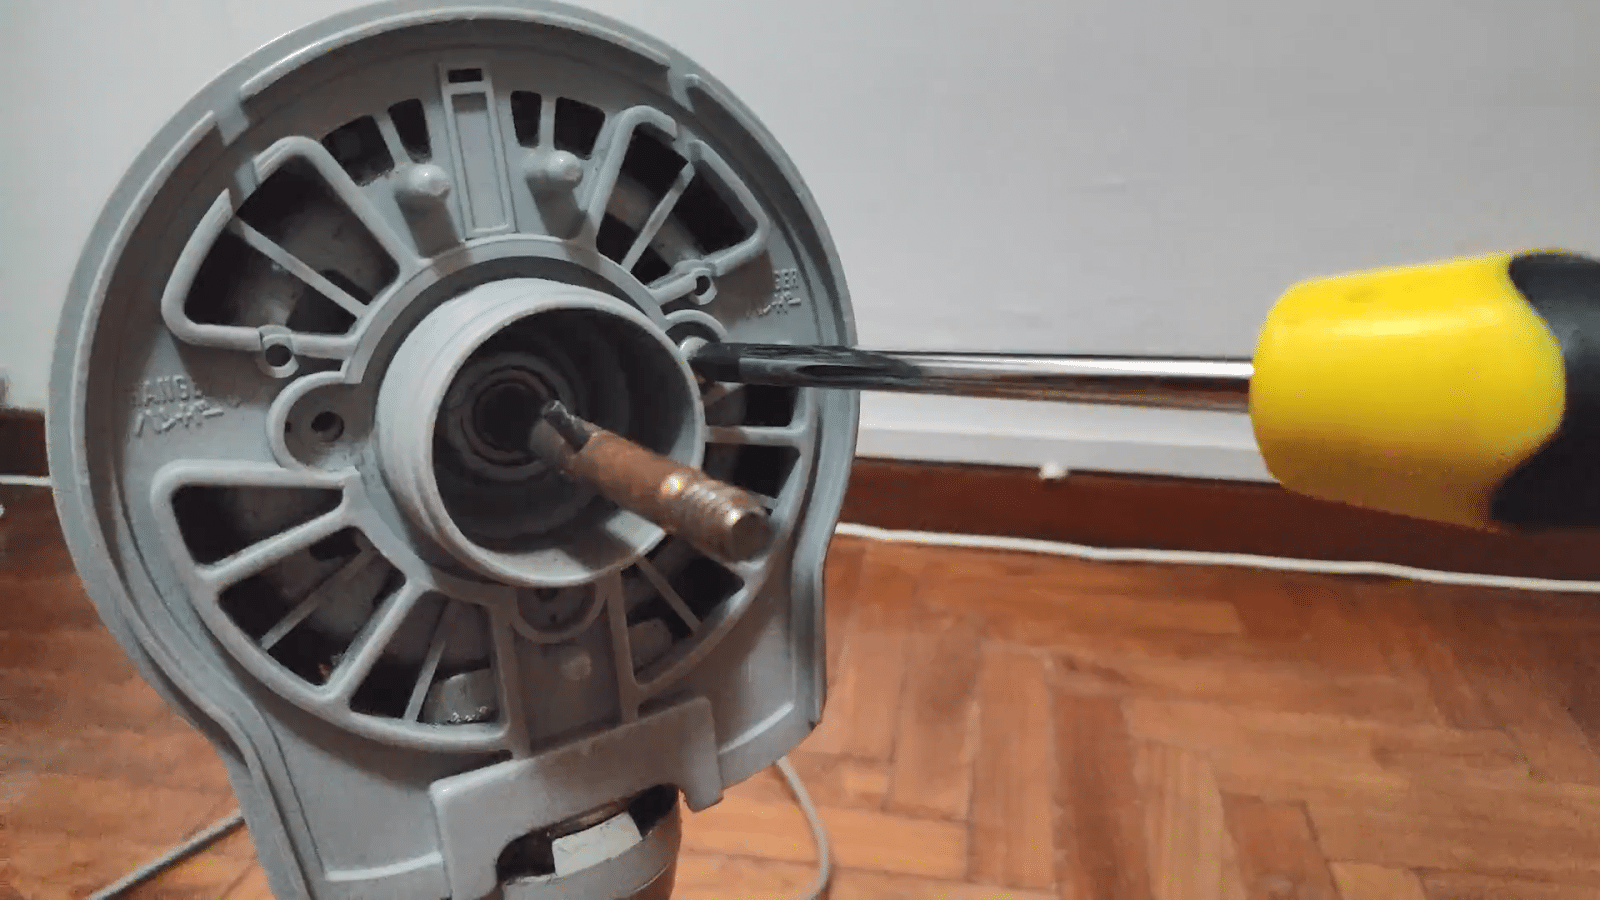
5) Pop out oscillation knob
Before detaching the fan case, remove the oscillation knob at the top. This is the knob to set the fan swinging or stationary. Just hook your fingers around it and pop it out.
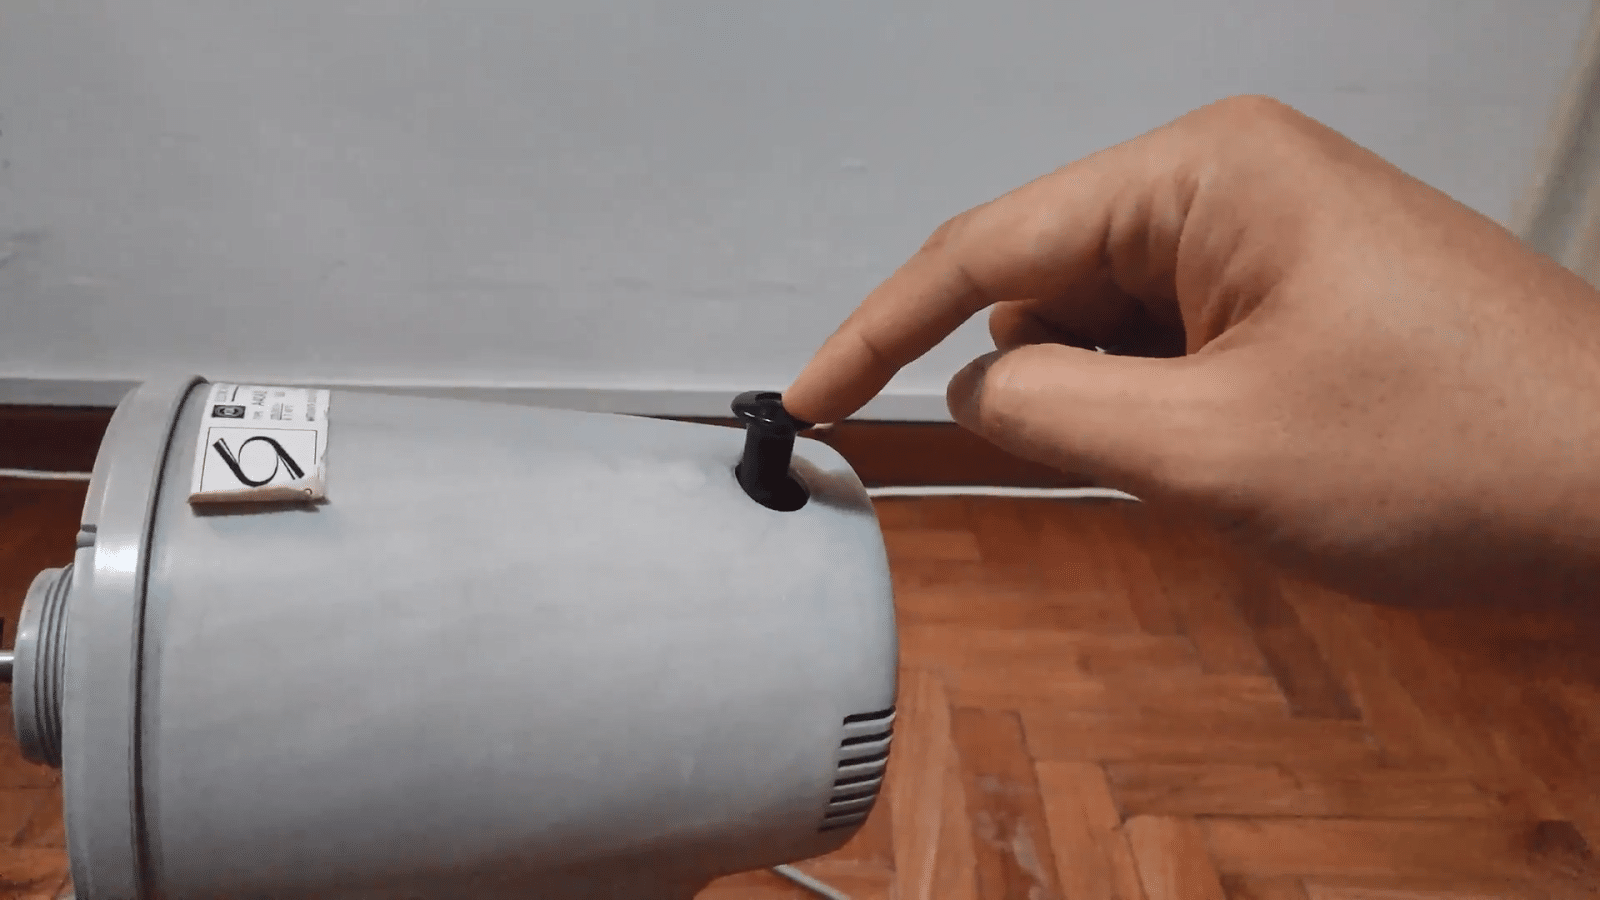
6) Detach fan casing
You should be able to separate the front and back fan casing completely by now.
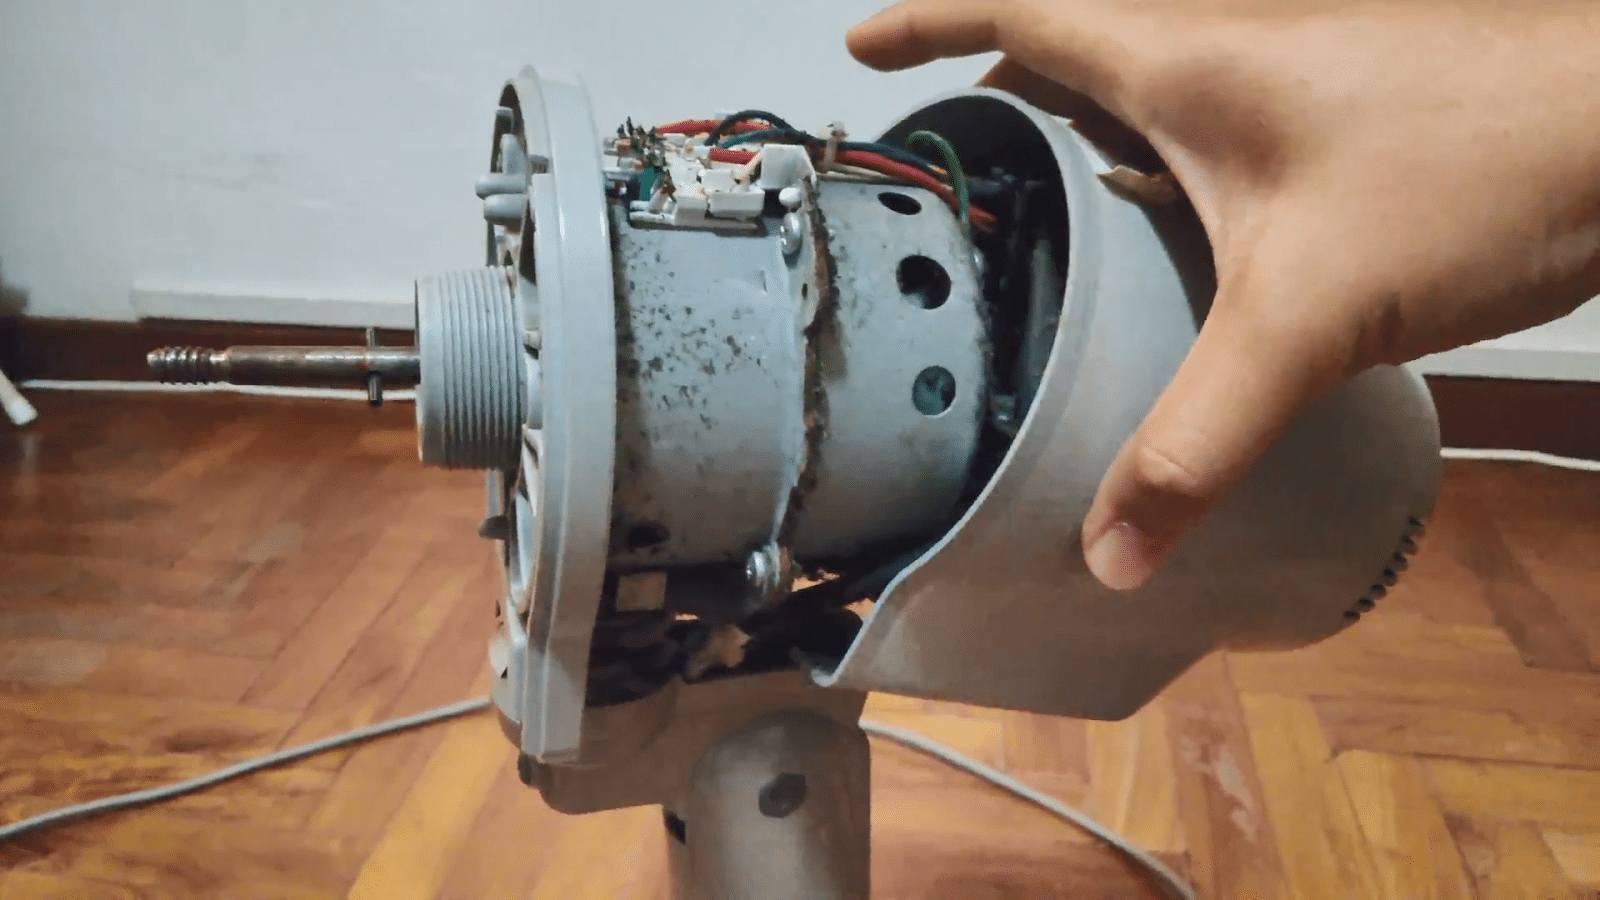
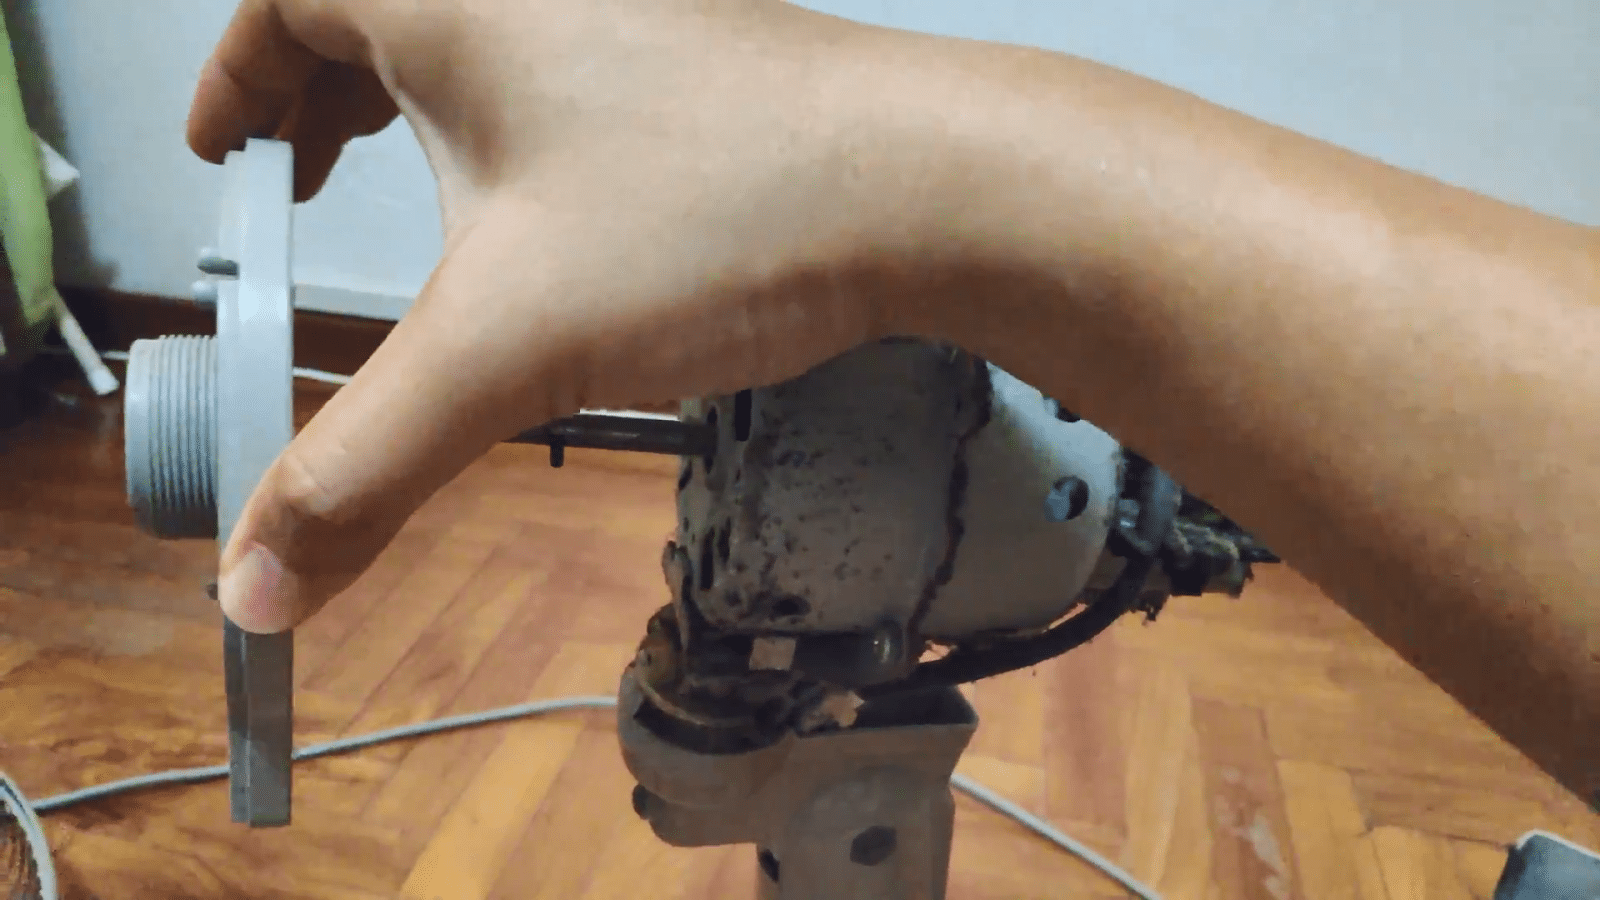
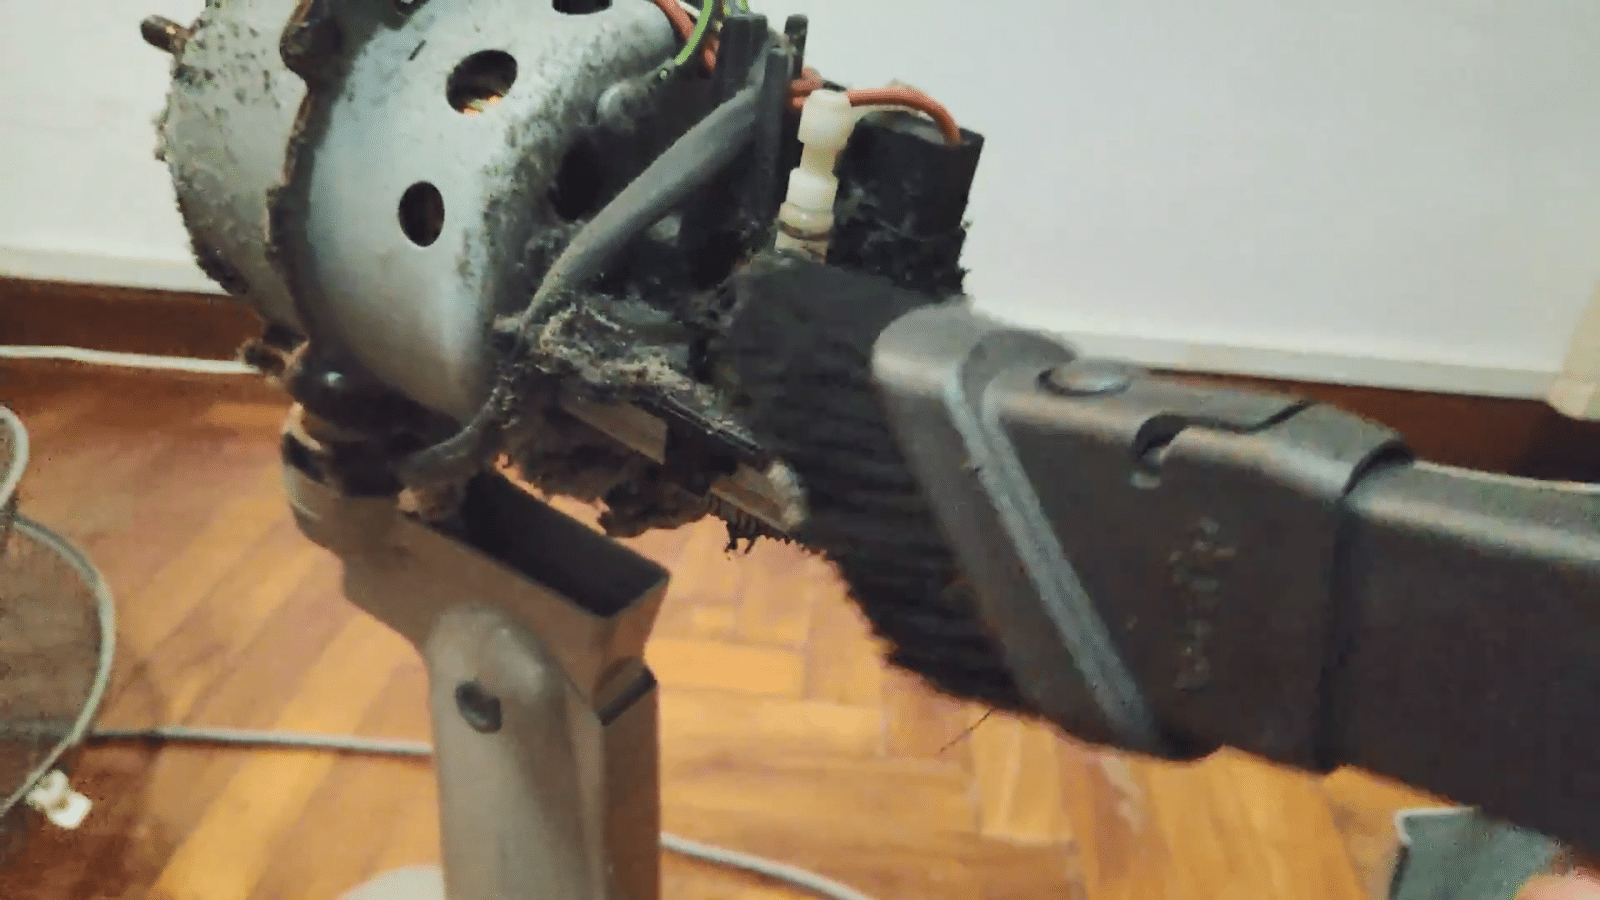
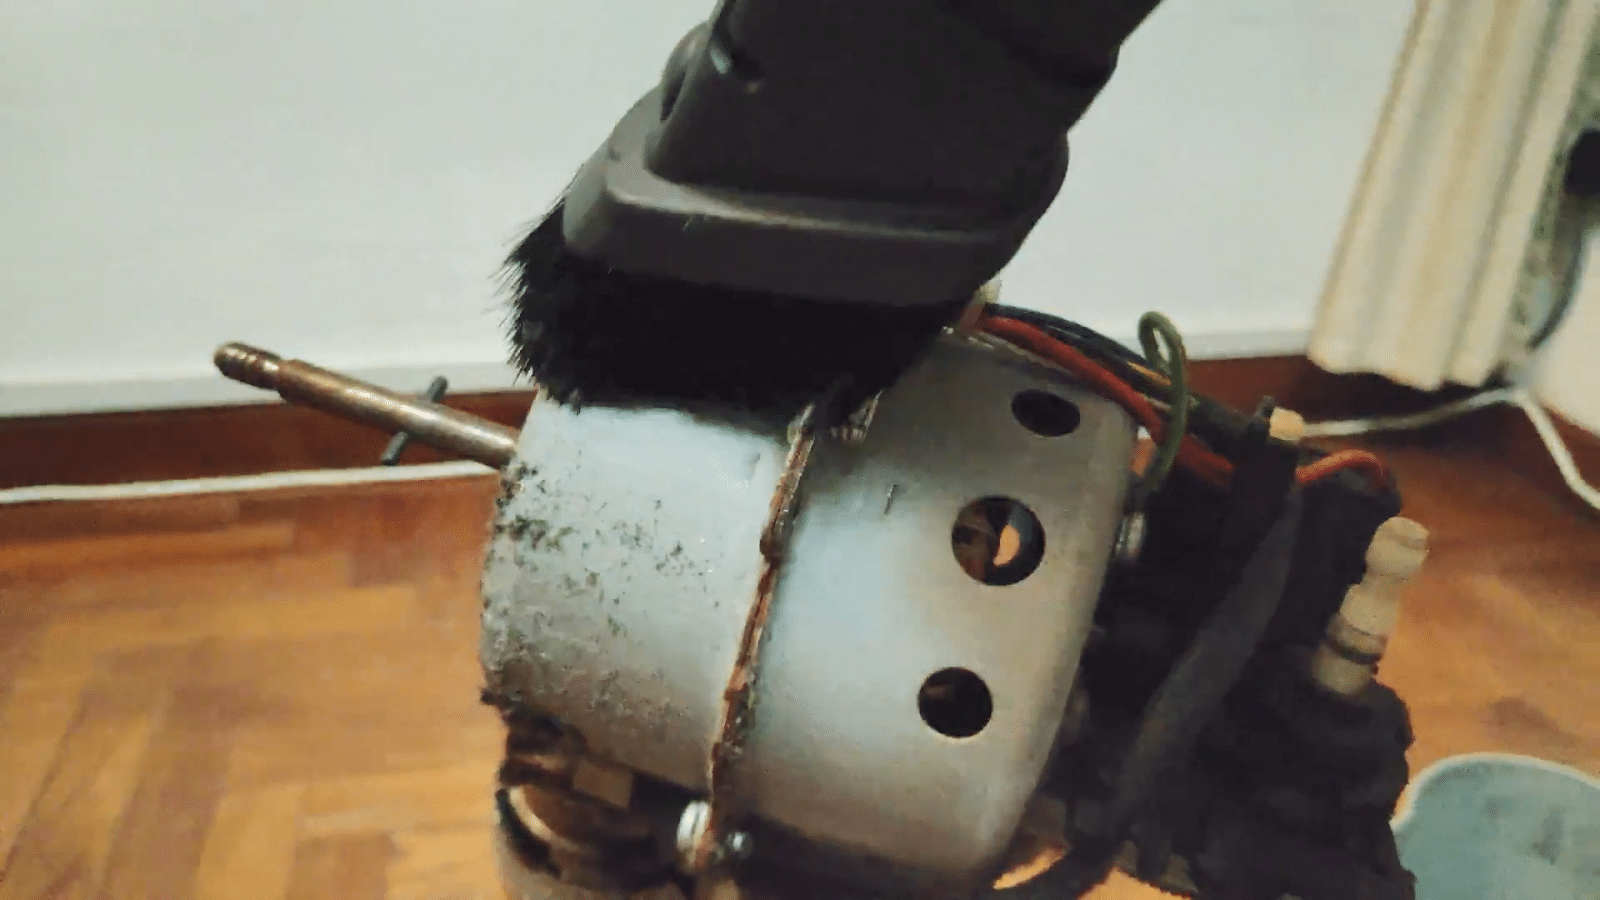
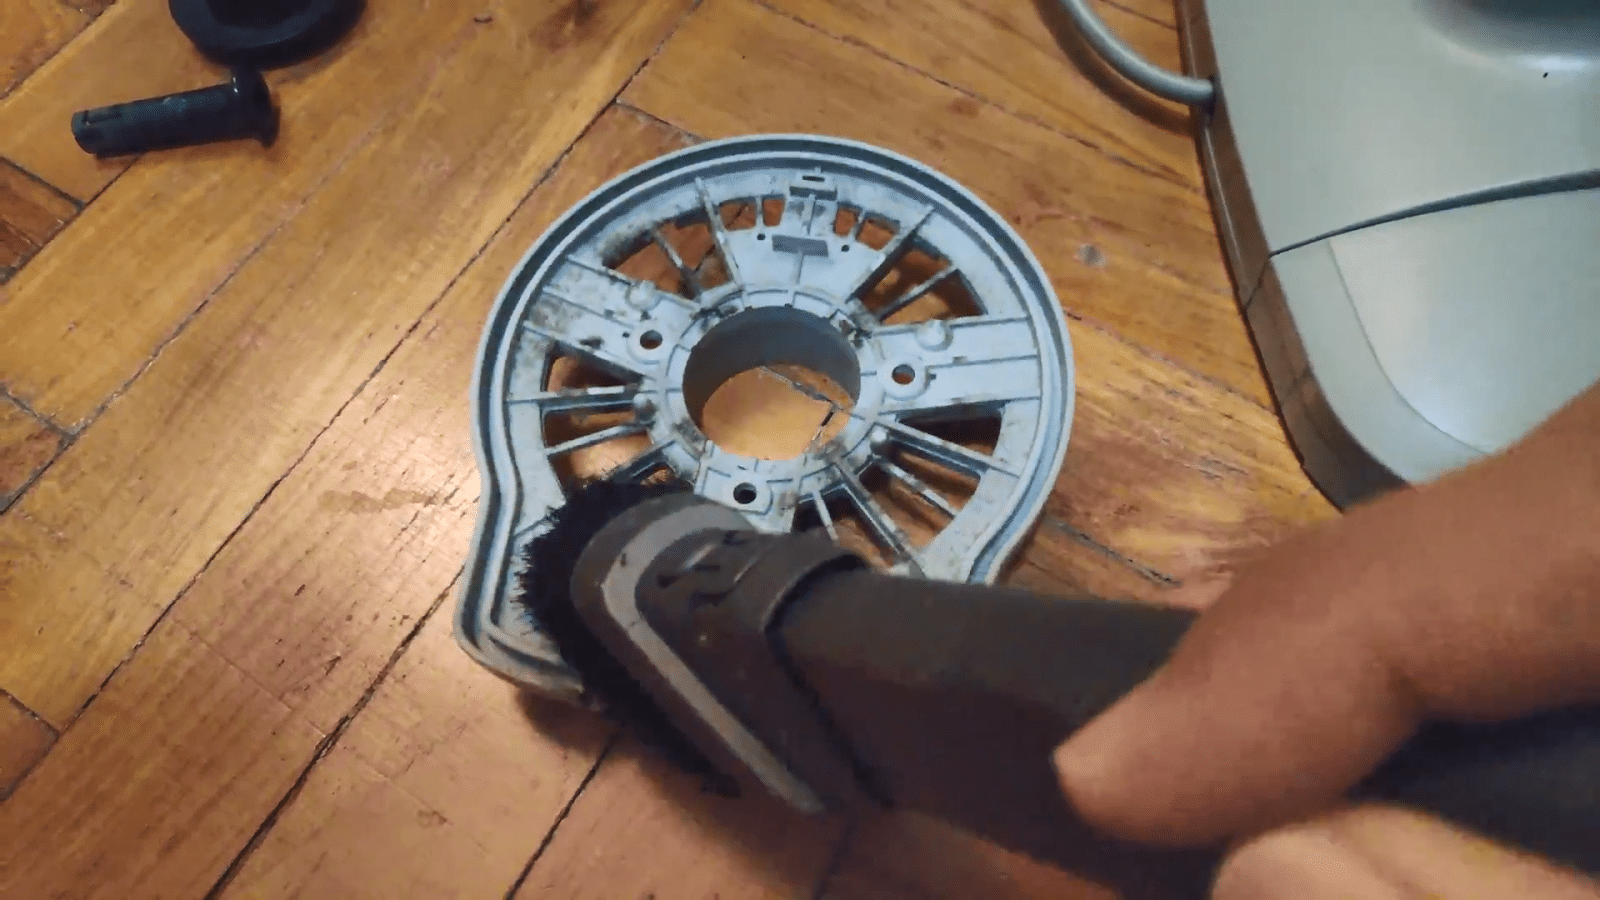
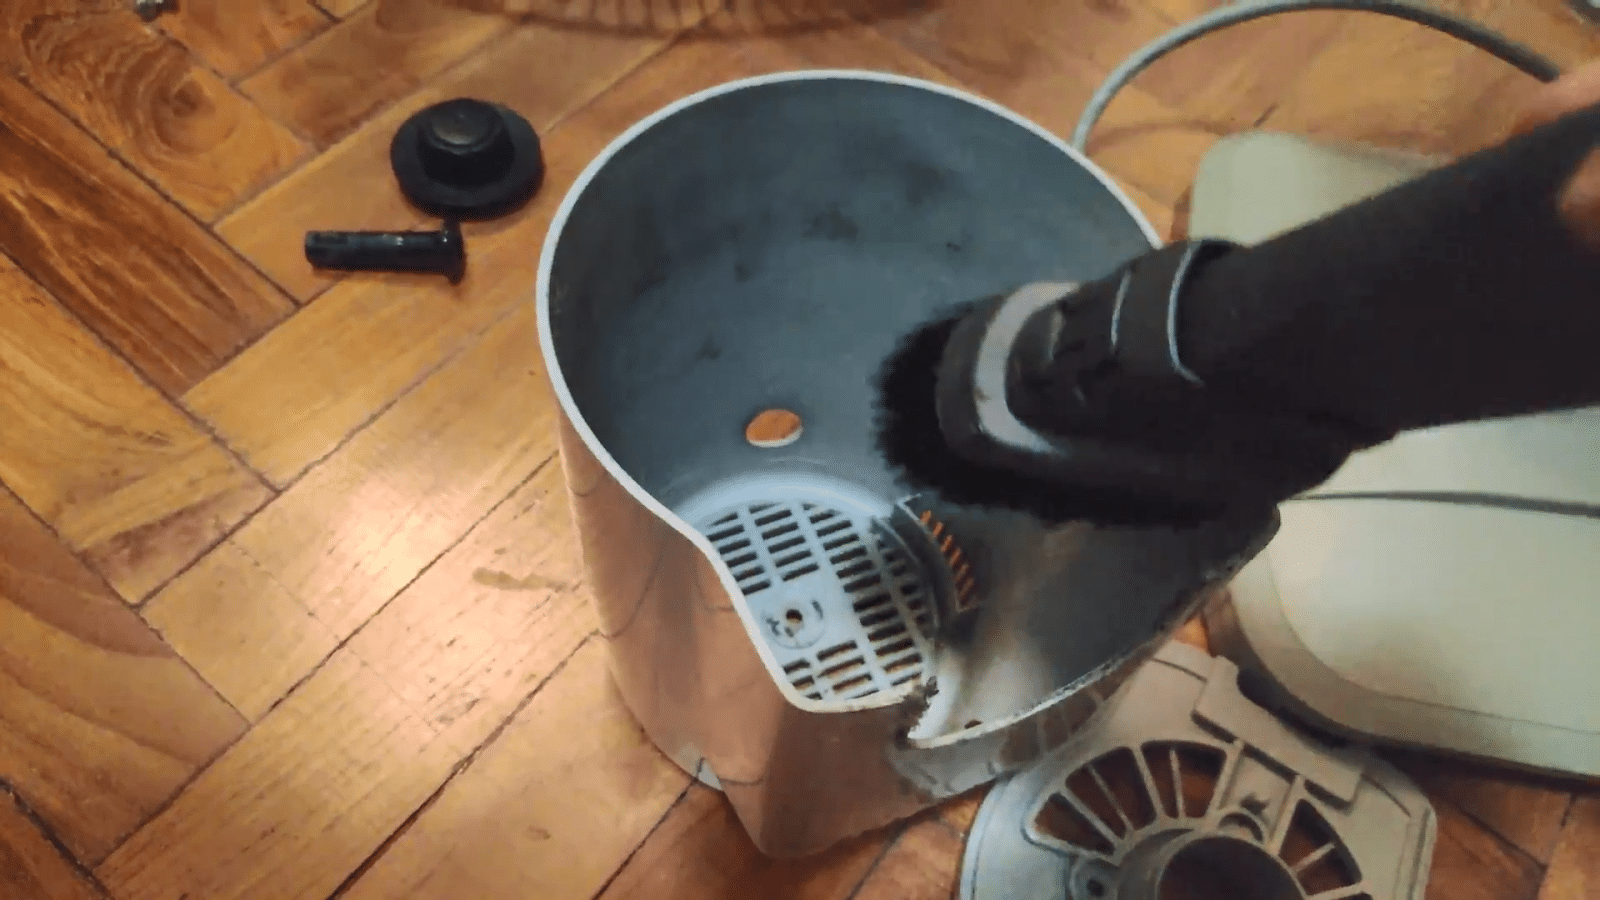
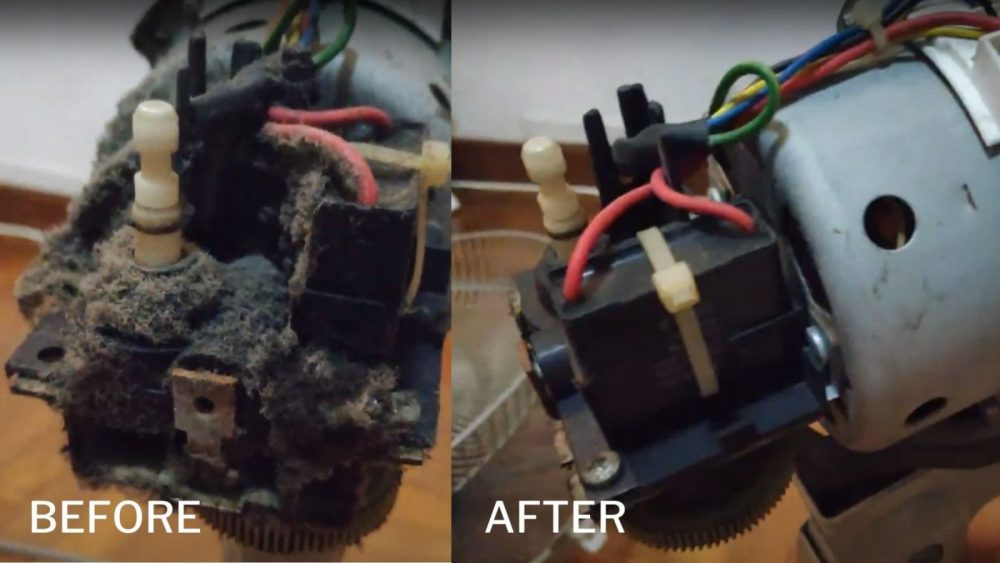
7) Vacuum the fan motor and insides of the casing
Use a brush attachment to really get in there. This is the most satisfying part!
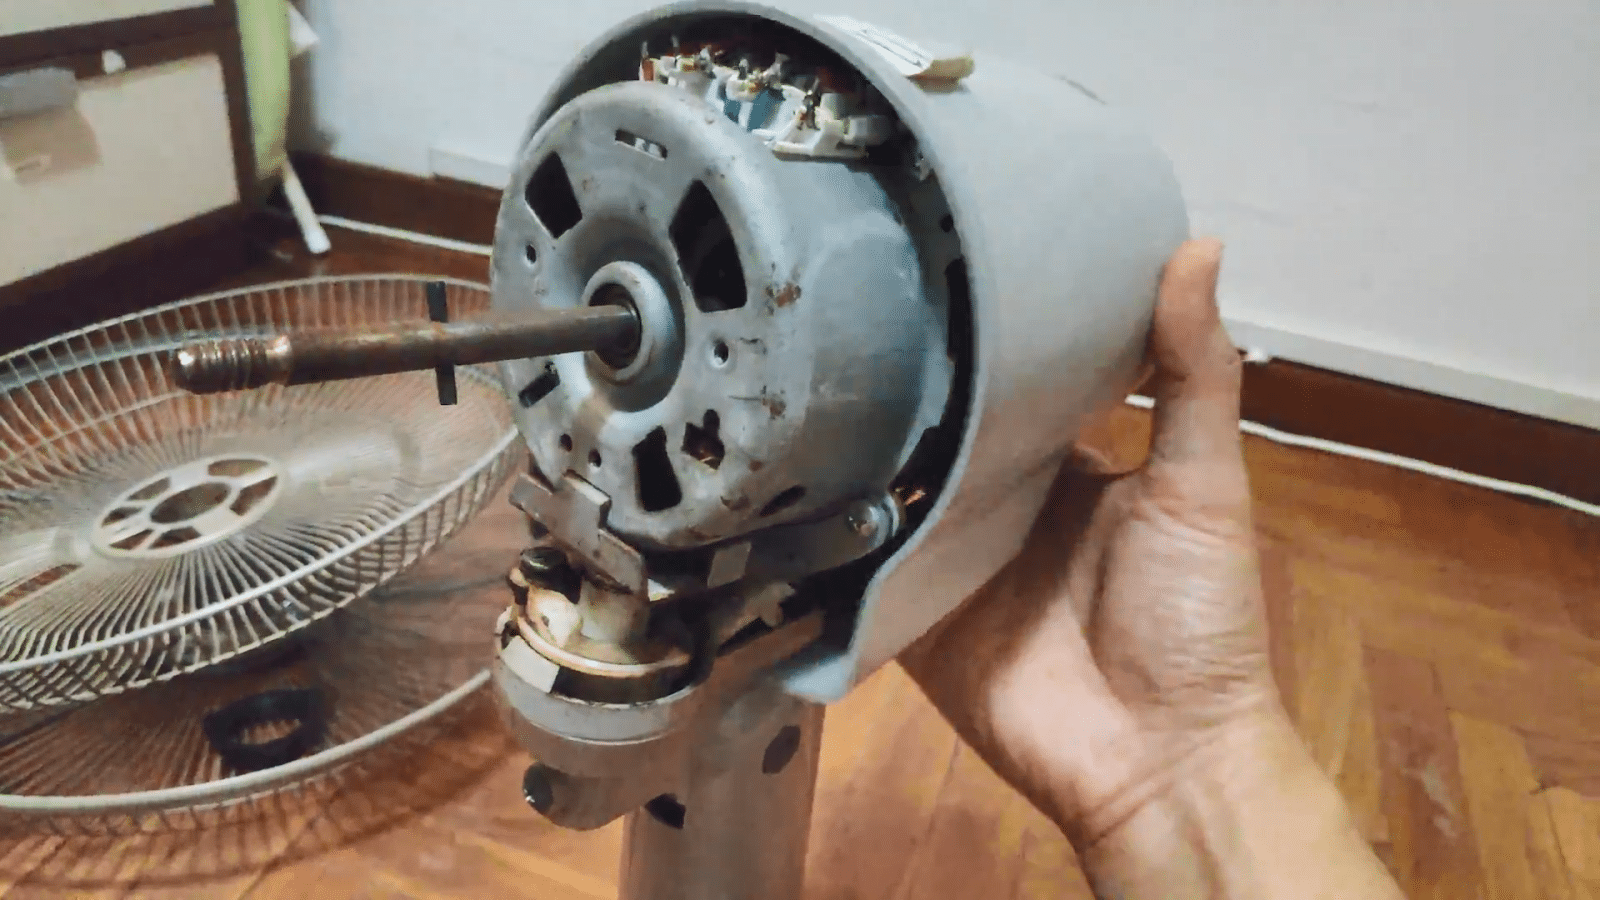
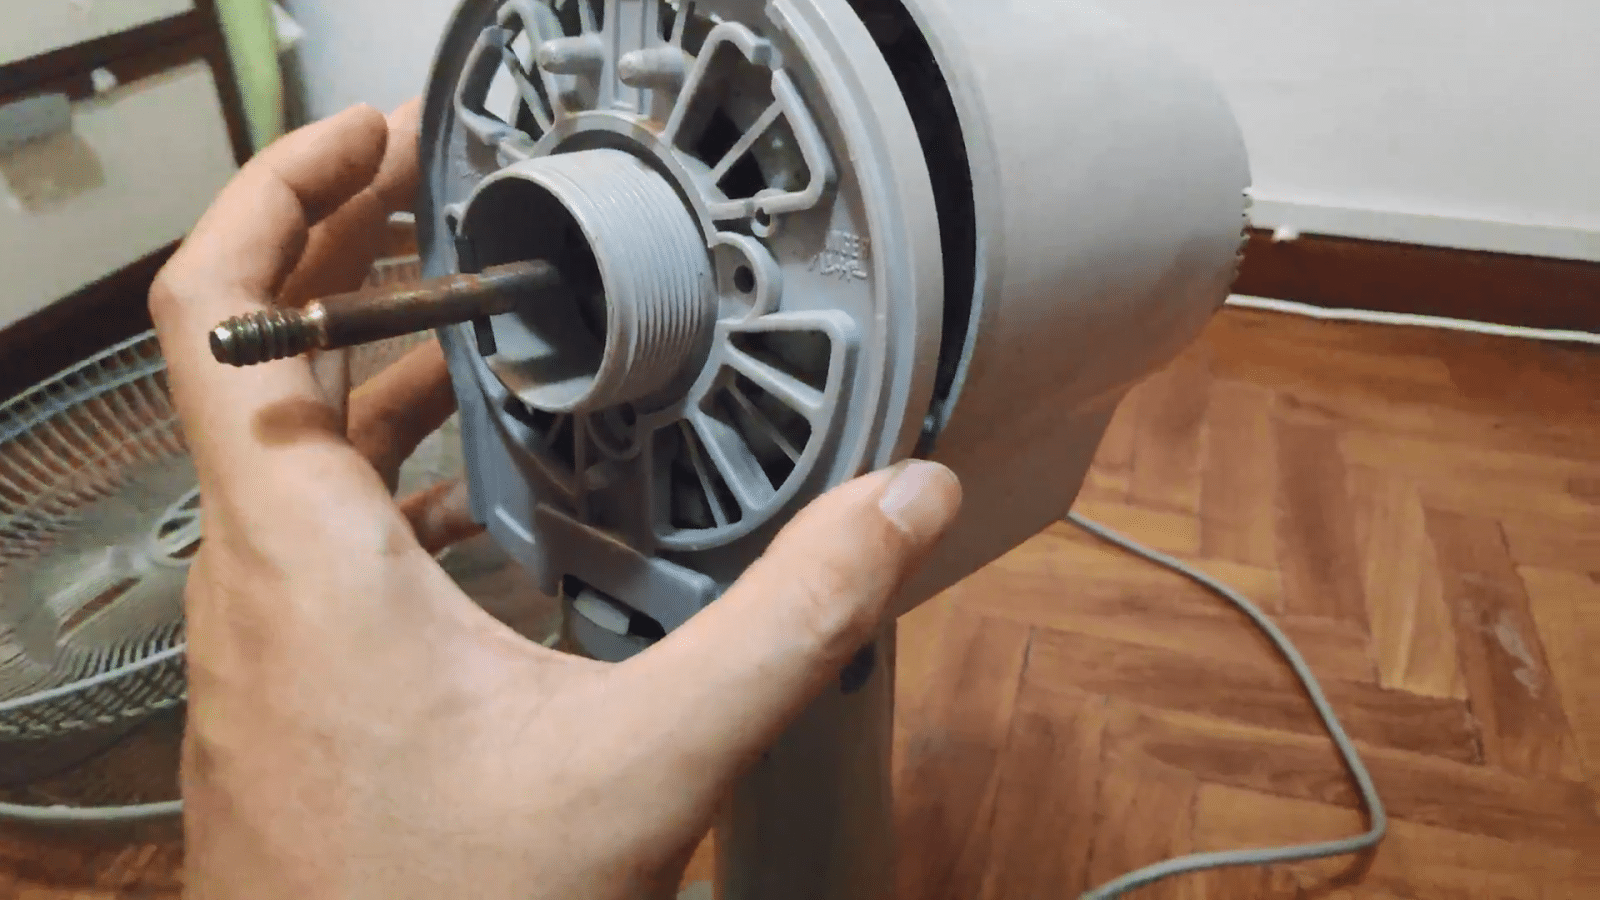
8) Reattach casing and screws
Reattach the fan casing
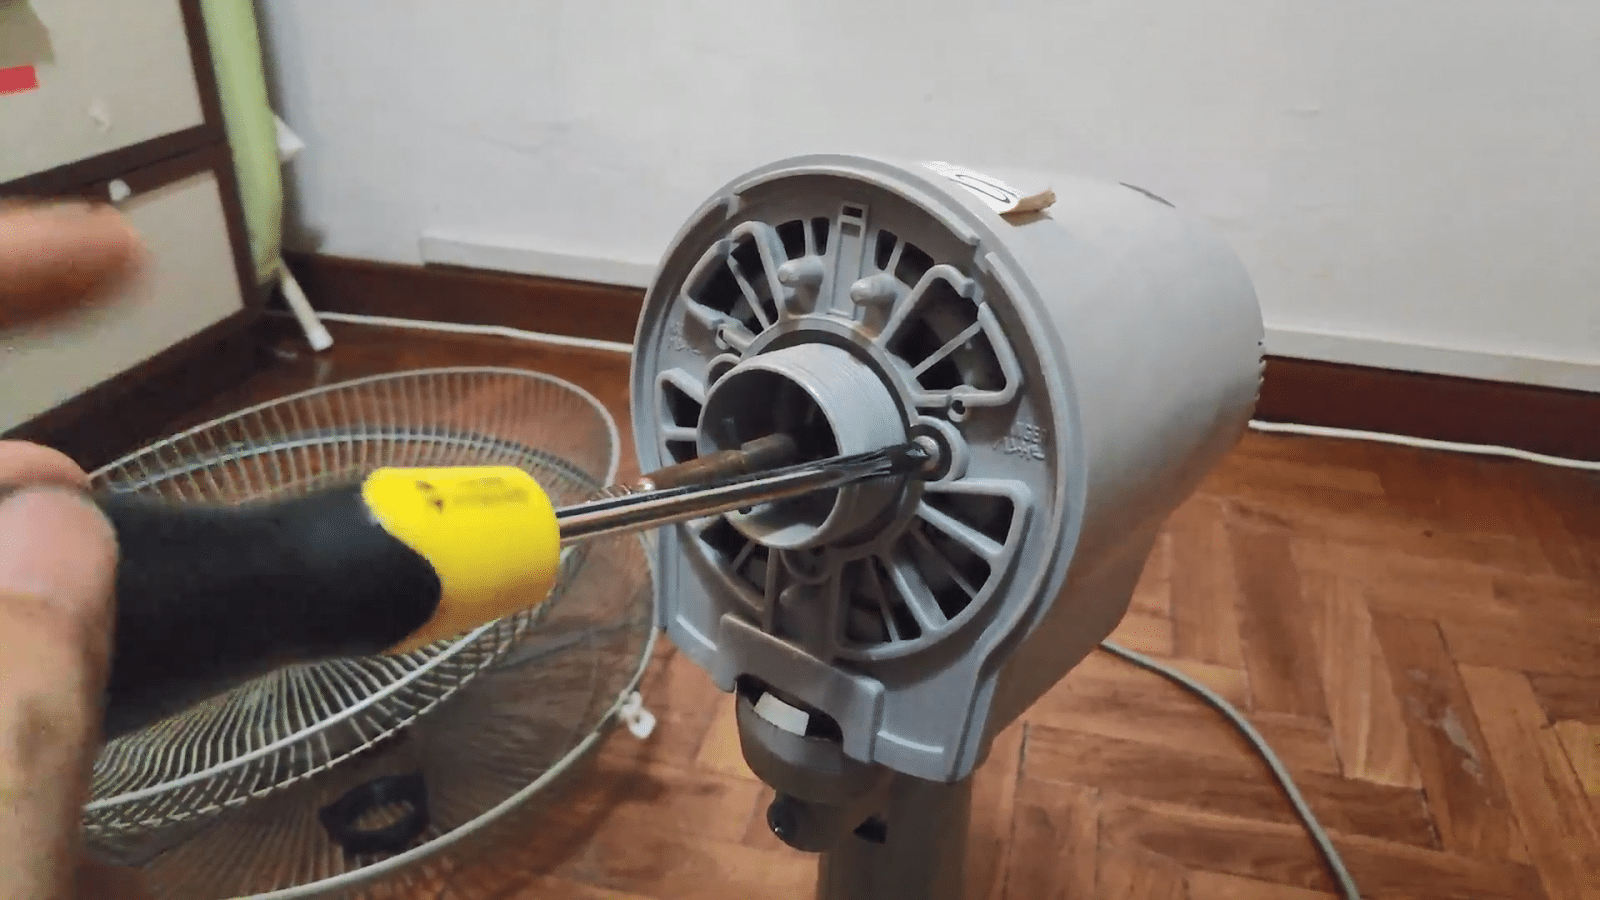
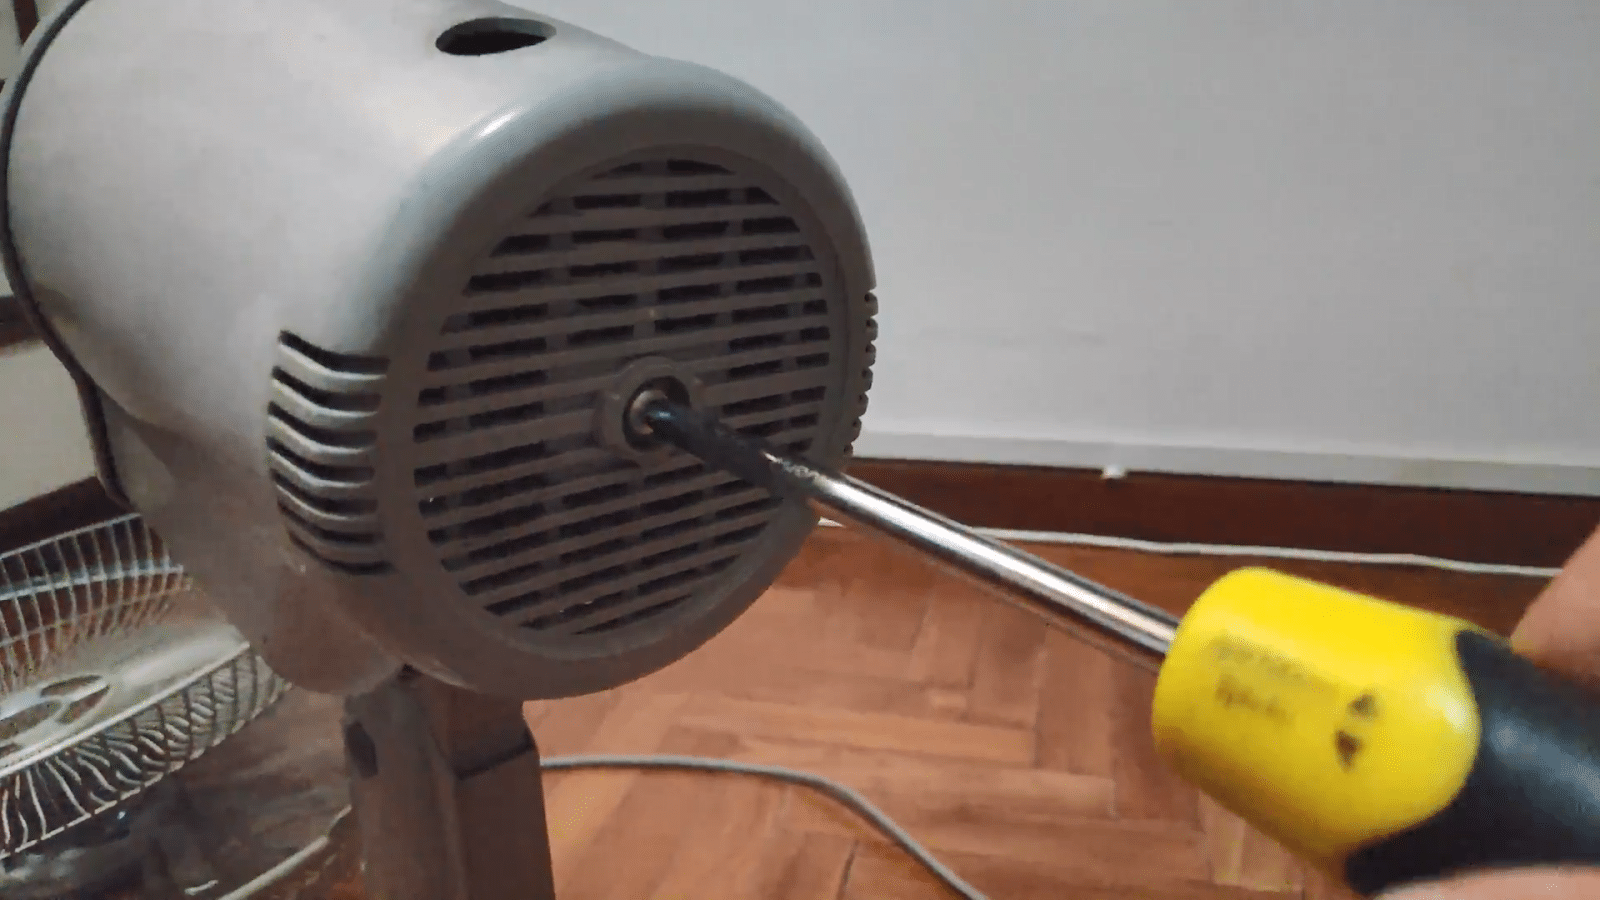
9) Pop in oscillation knob
Press it down until it clicks
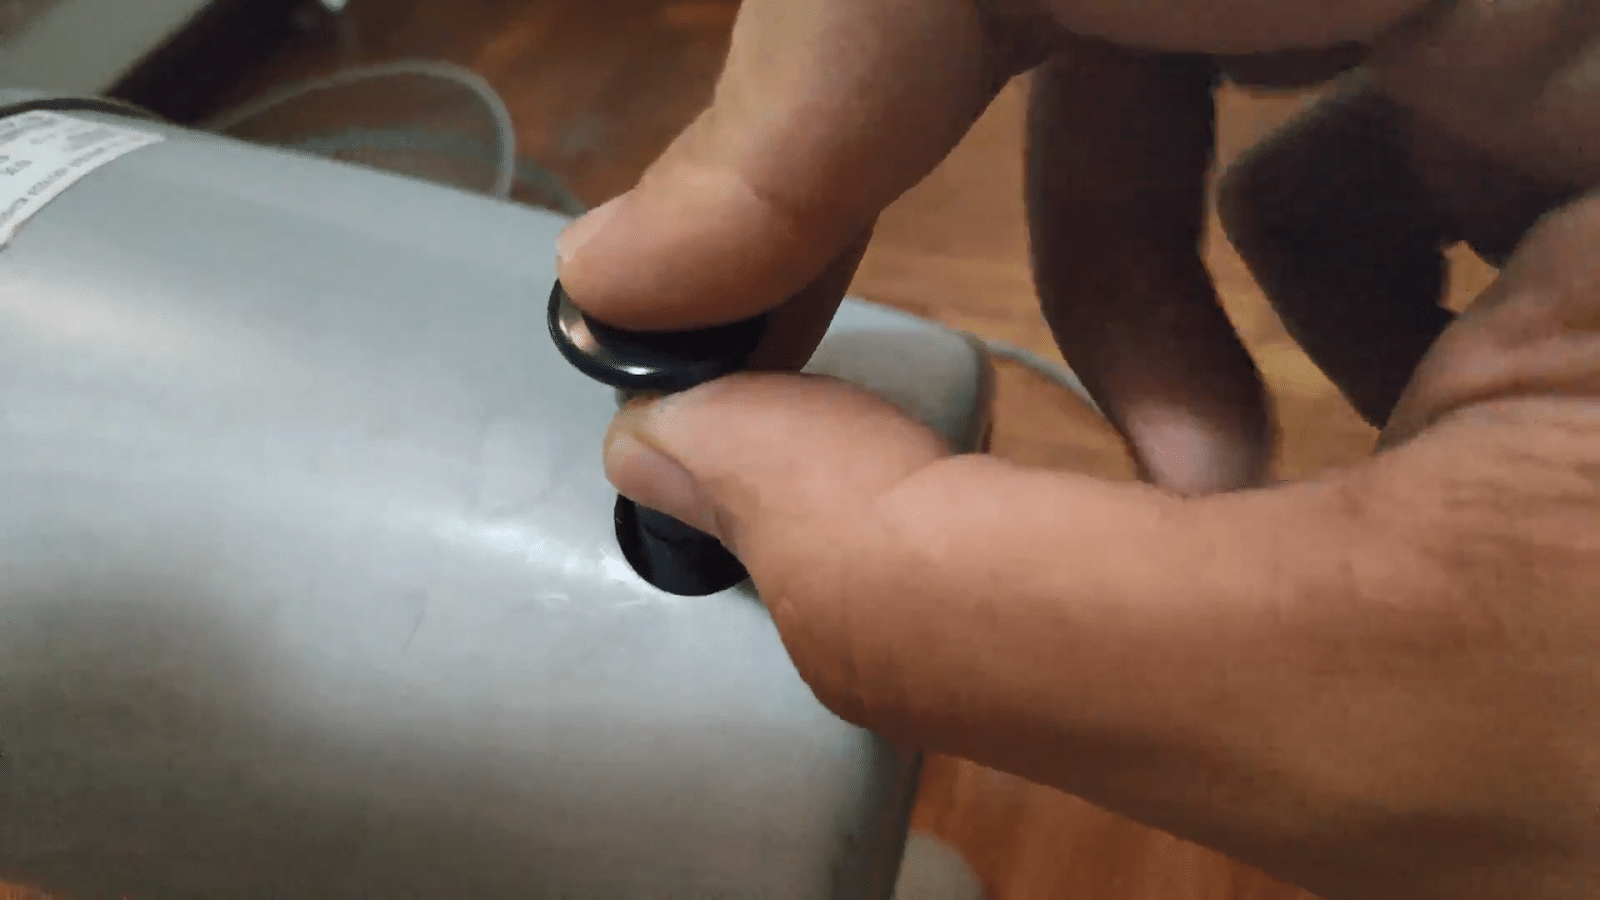
10) Reattach rear fan cage
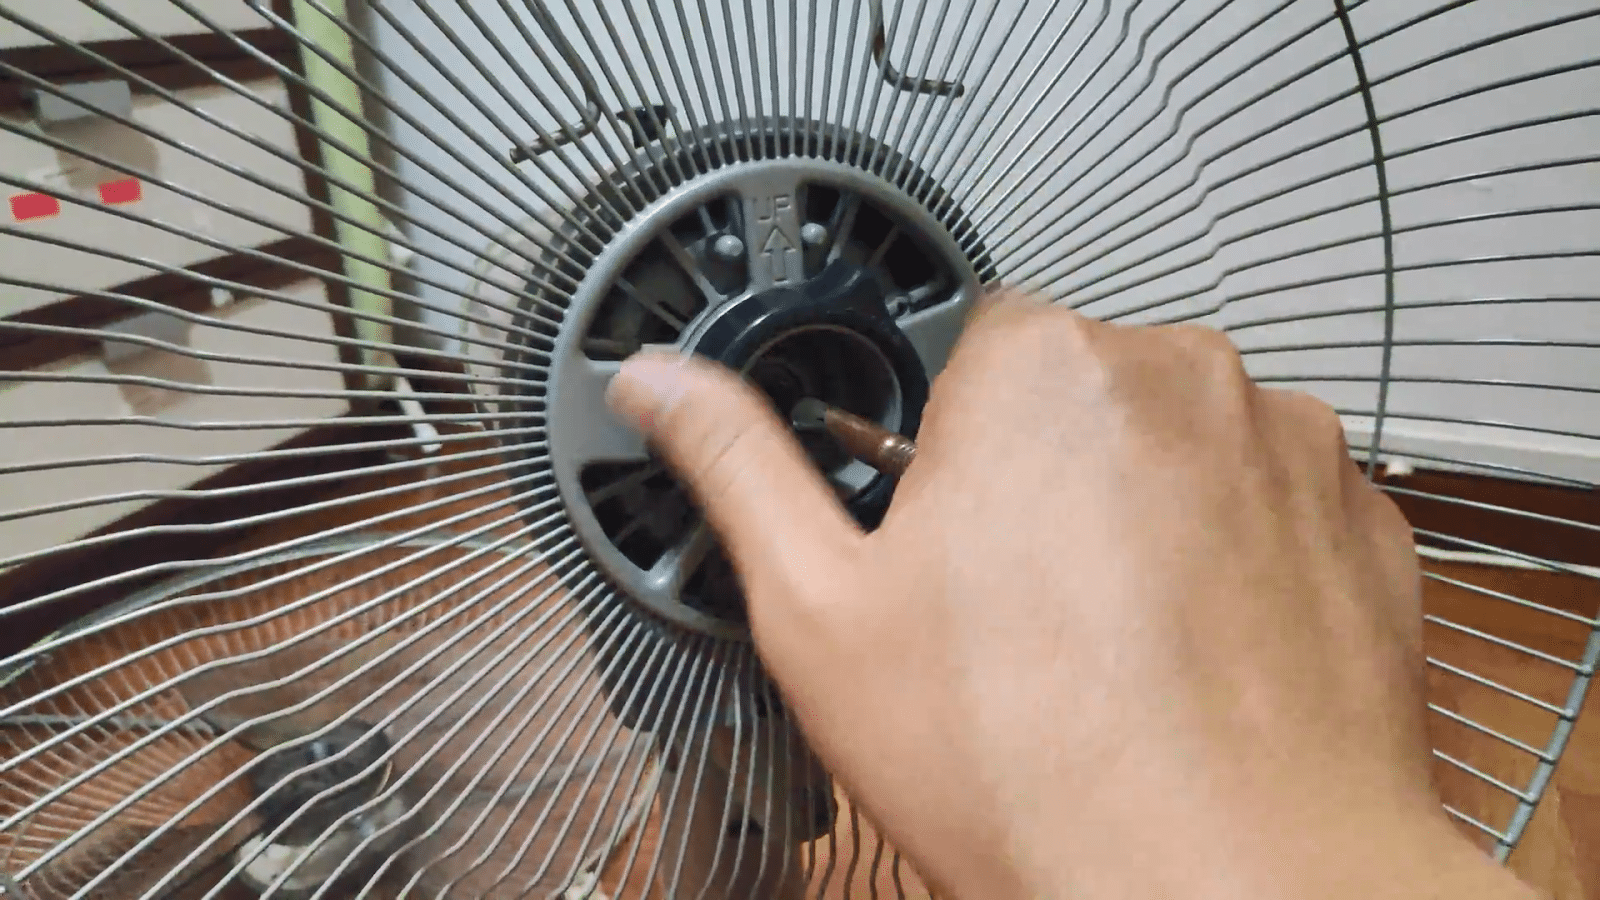
Make sure the cage aligns properly with the casing. The pillar with the “up” arrow should be pointing upwards, and sit in between the two protruding points on the fan casing. Then, screw on the nut in a clockwise direction.
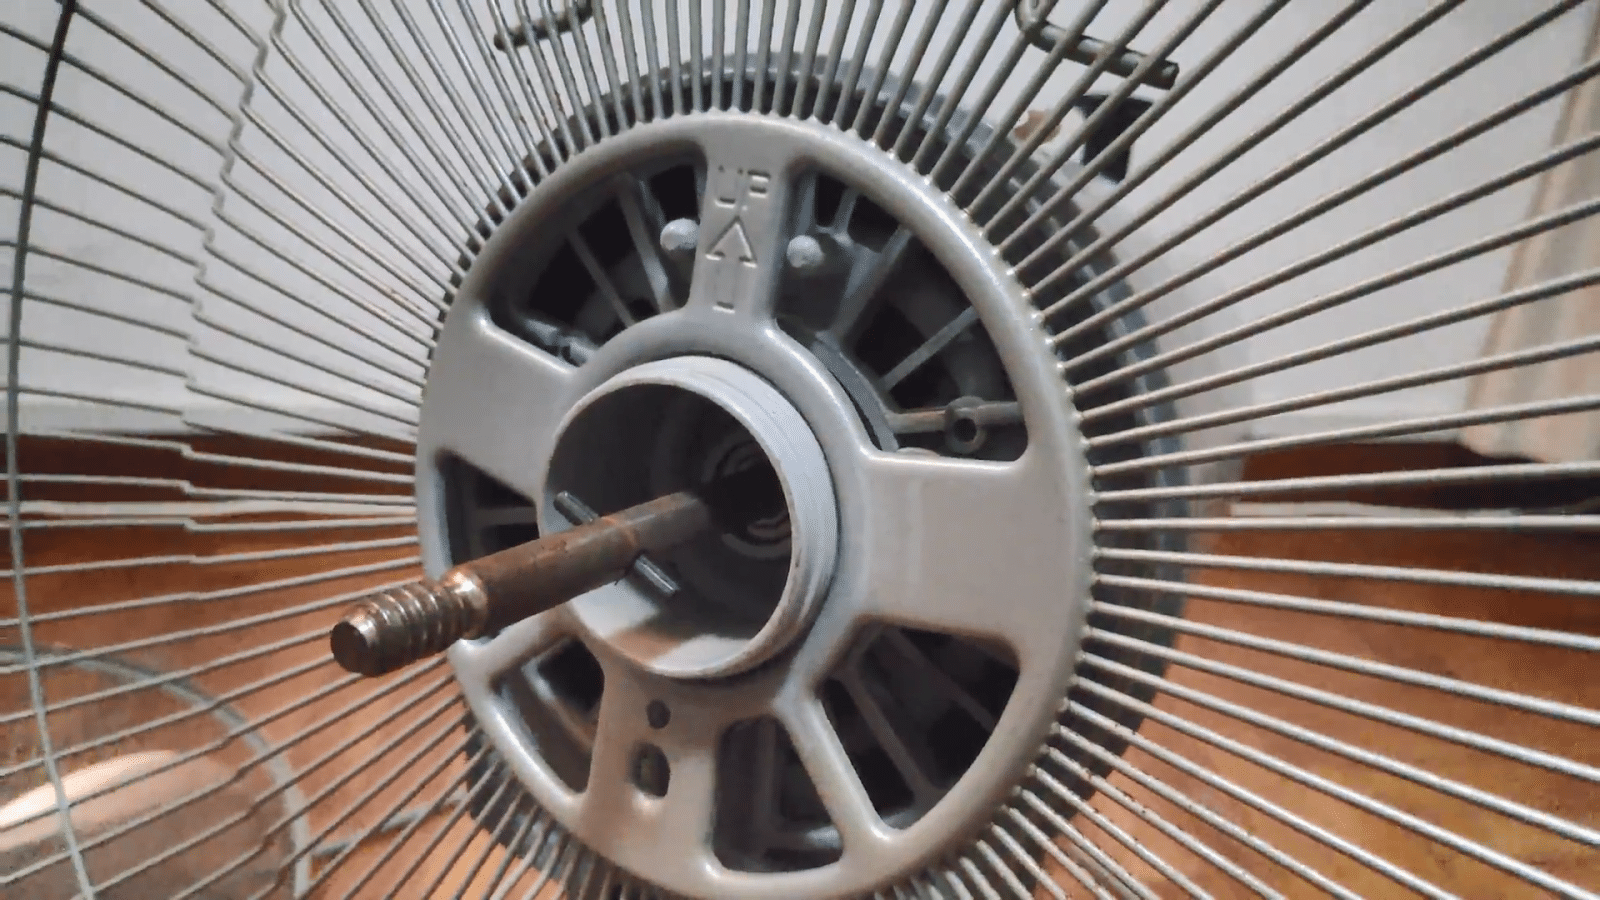
11) Slide on the fan blade
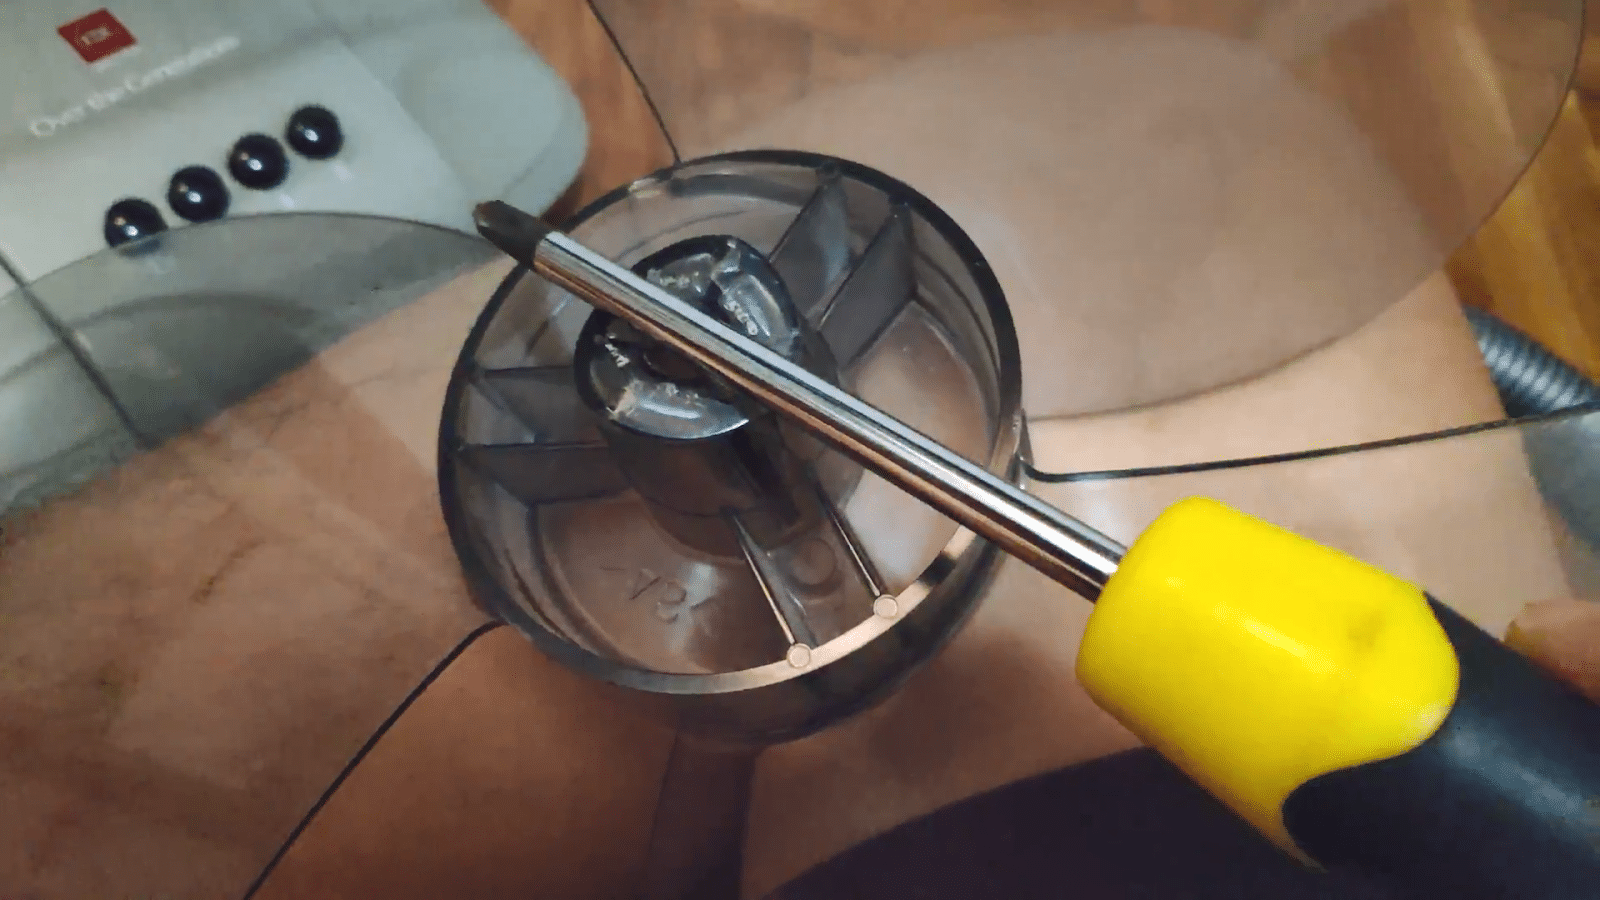
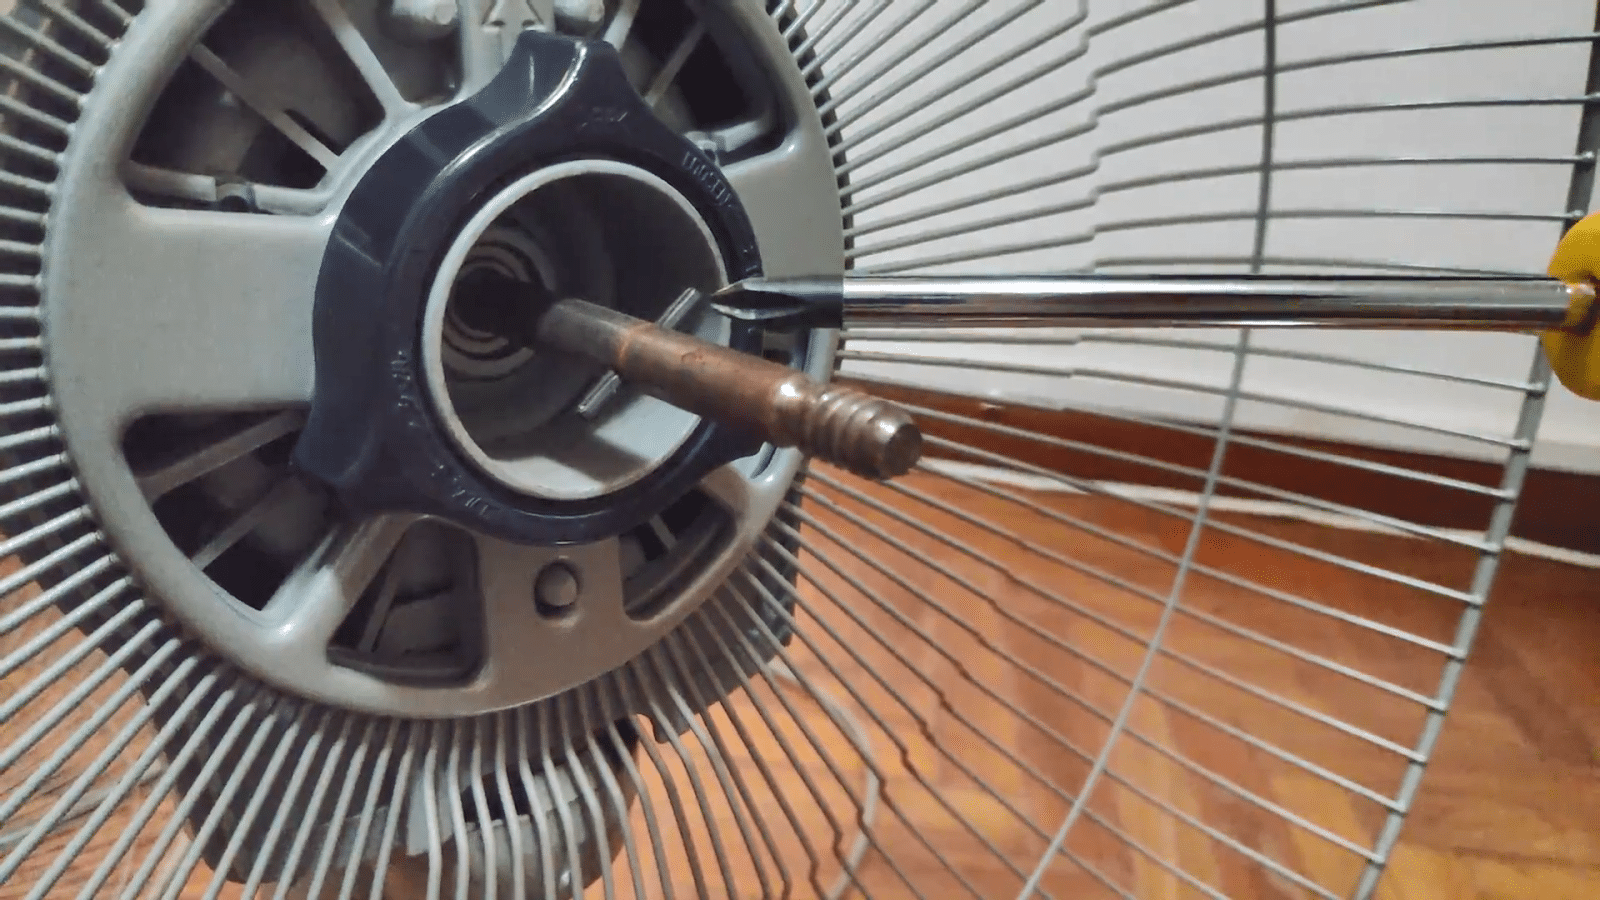
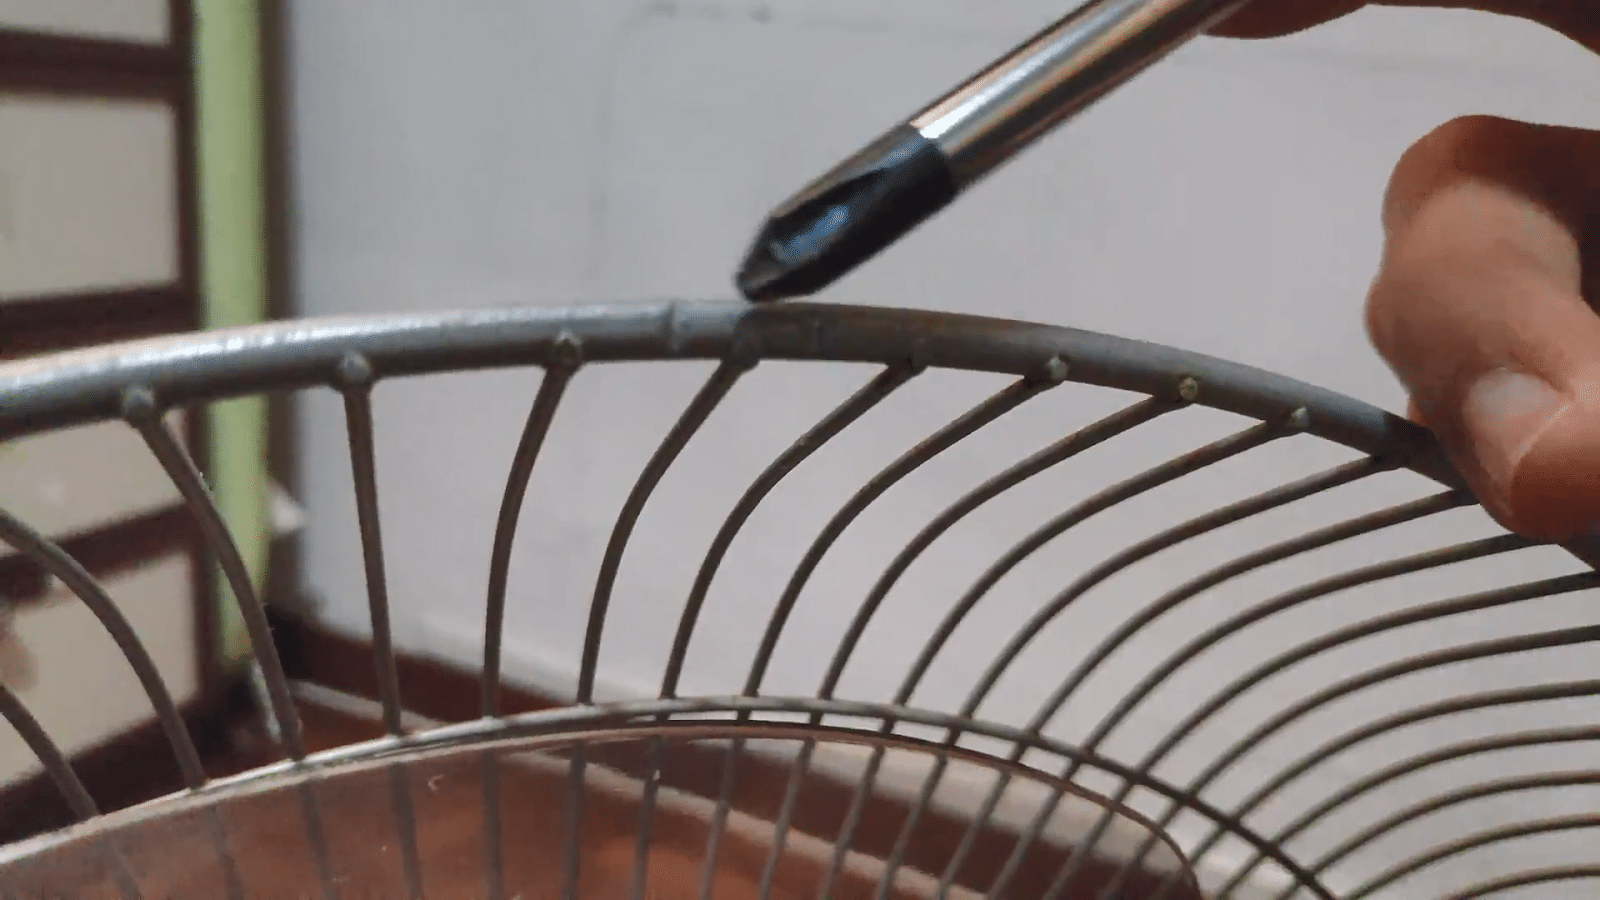
The fan blade slides over the metal fan shaft. There should be a depression at the back of the fan blade (indicated with the screwdriver below). Make sure these align with the shaft pins (pointed by the screwdriver). Then, screw on the cap anti-clockwise.
12) Reattach front fan cage
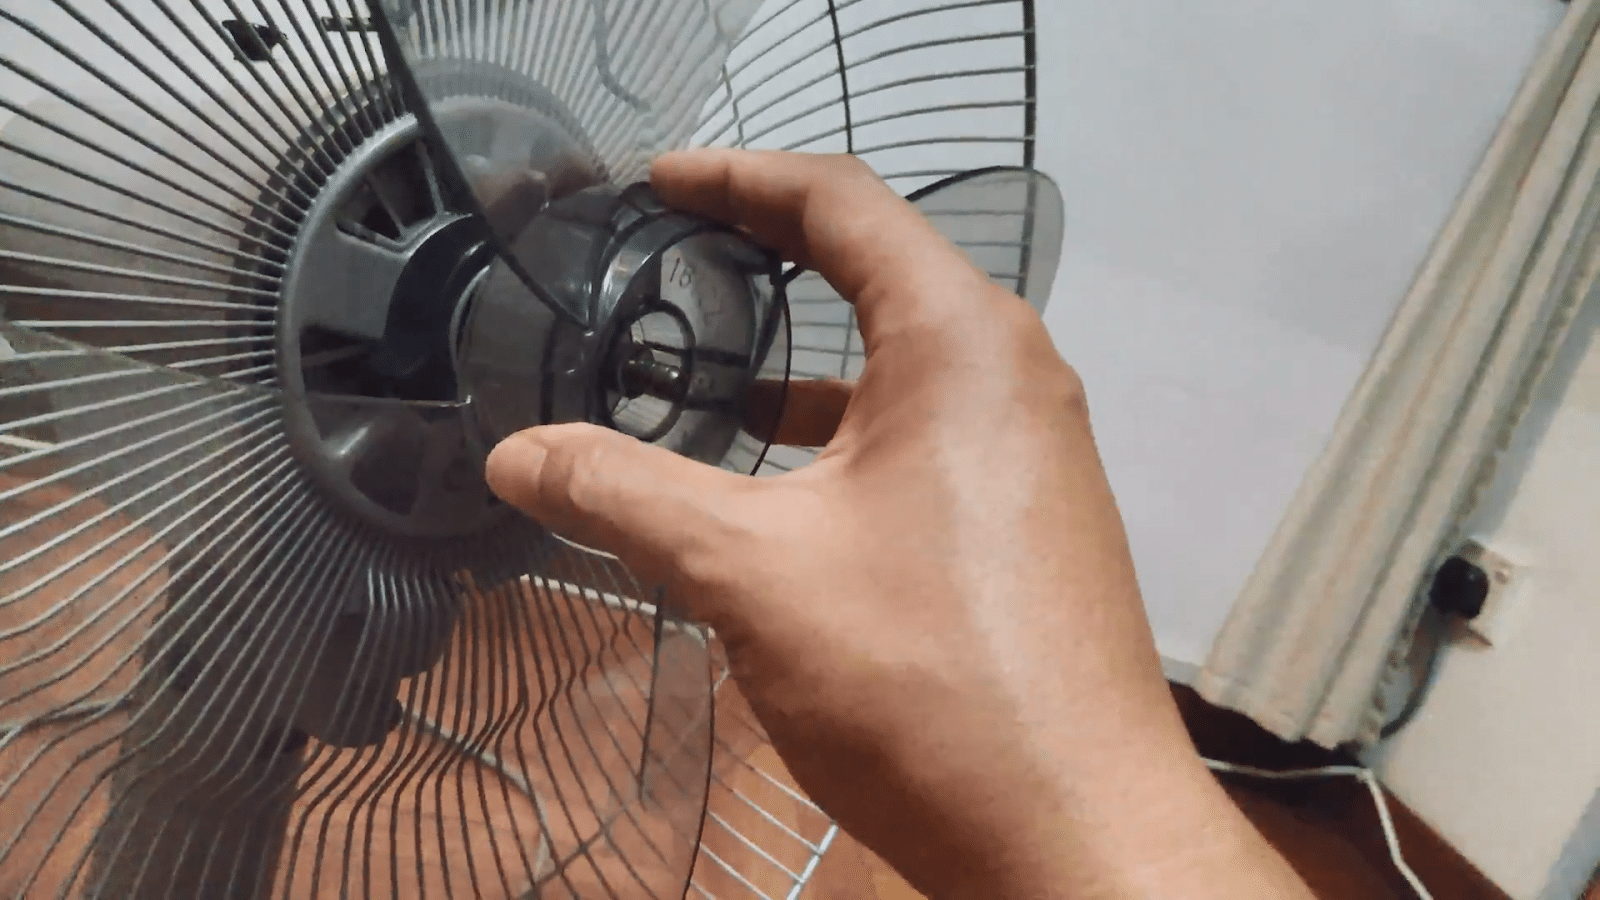
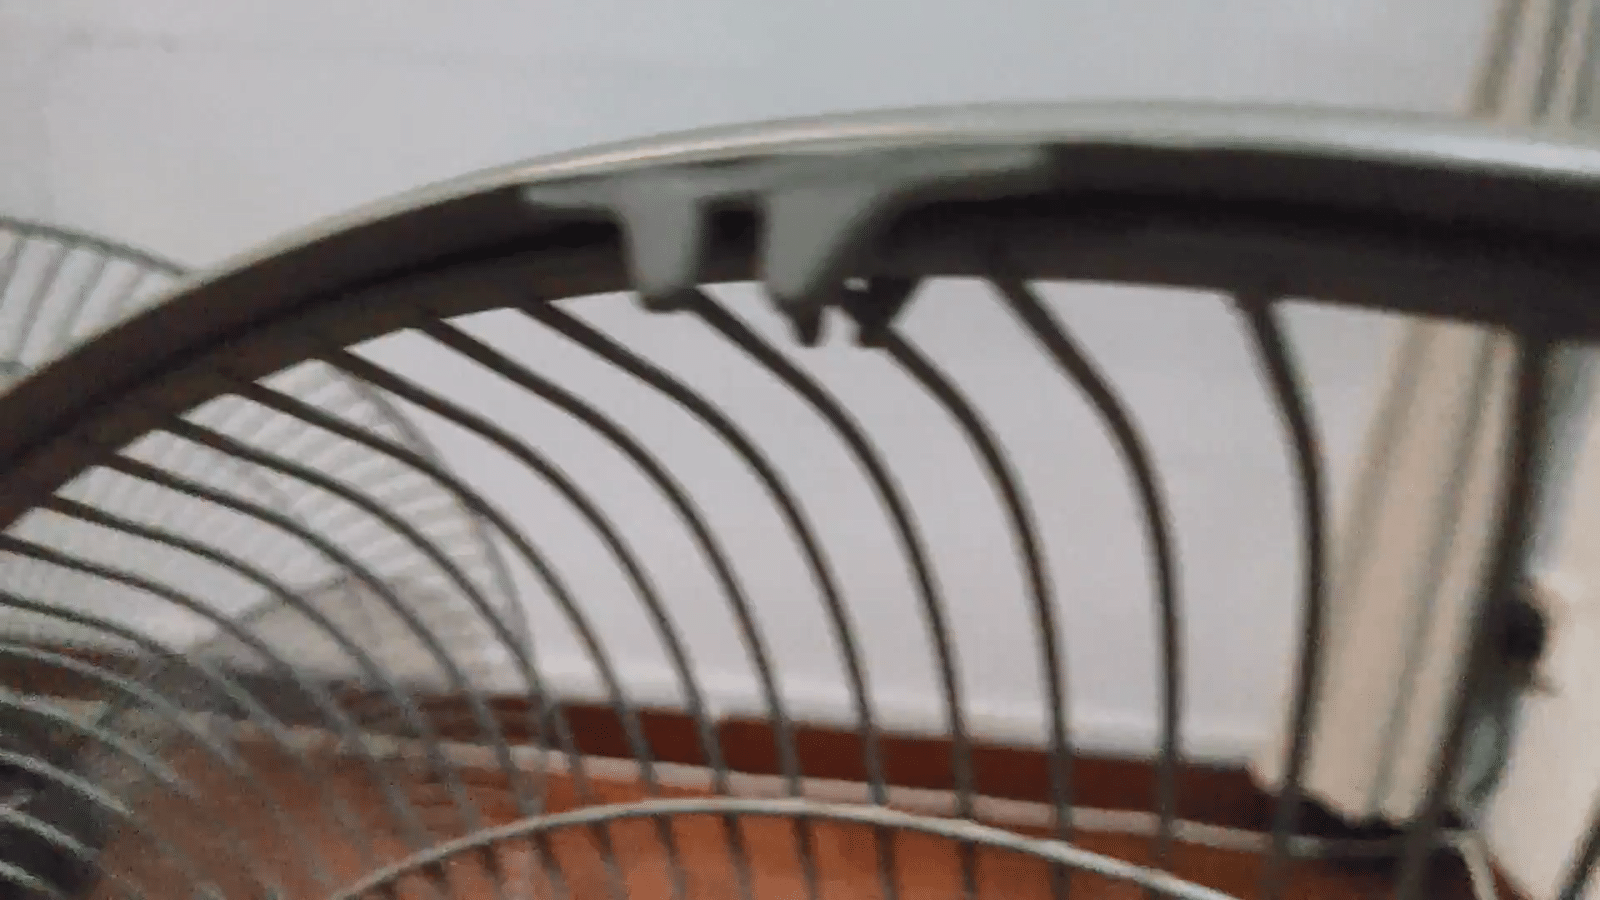
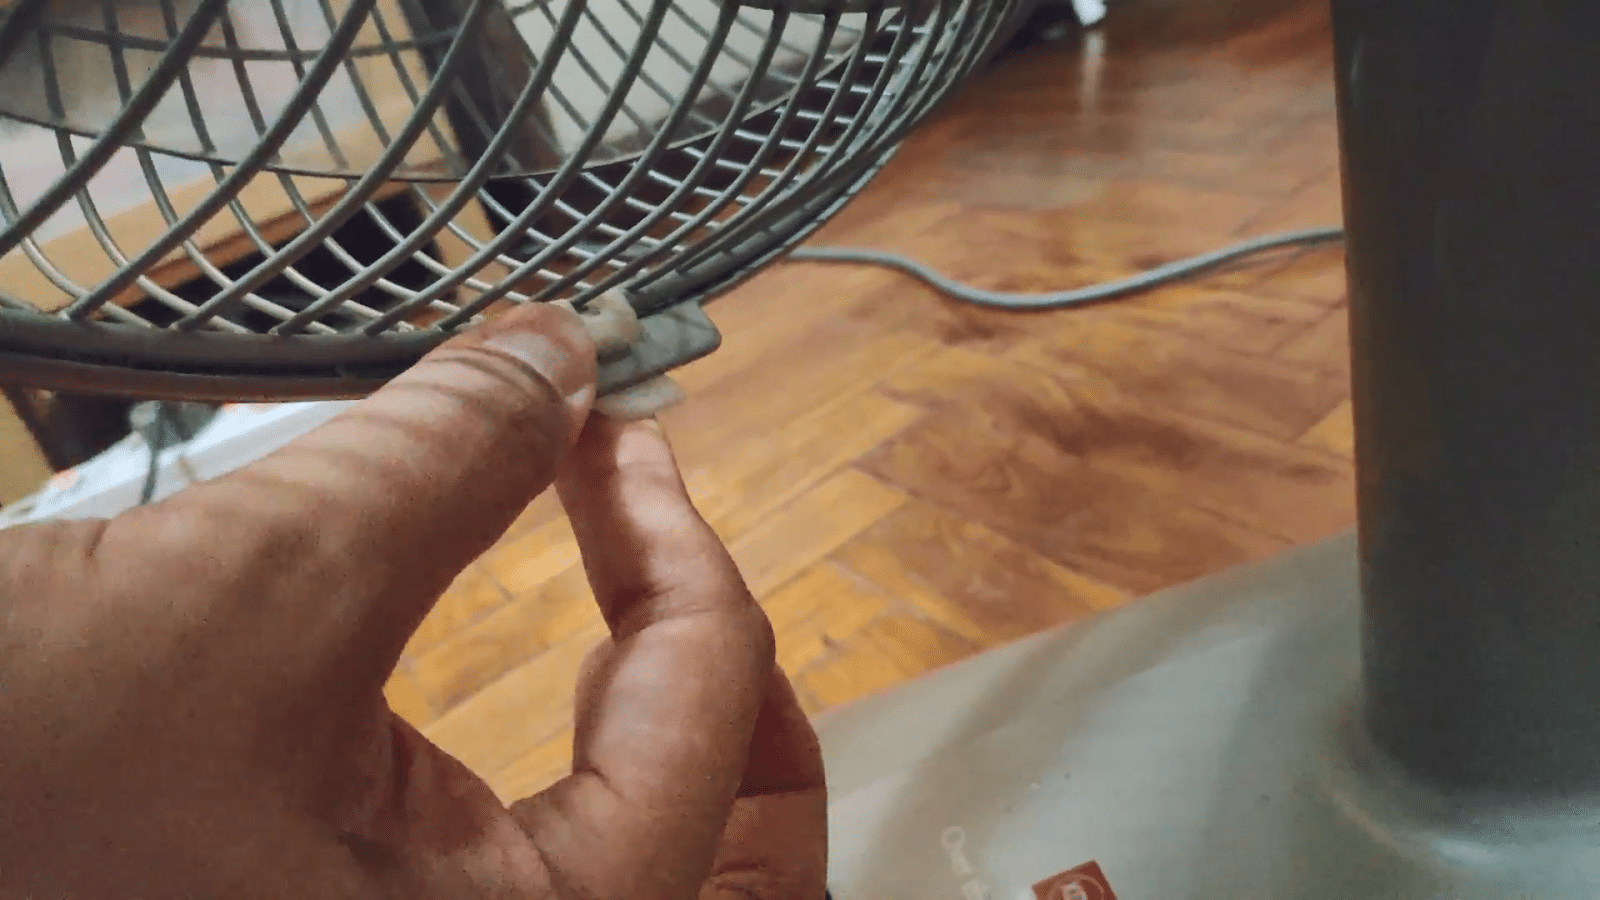
Hook the front fan cage starting from the top. It should align with two notches on the rear fan cage. Then press the front and back fan cages together, starting from the top going down both sides. You should hear clicks as each part is attached. Finally, press the buckle to lock the fan cage at the bottom.
13) Good as new!




![How to Avoid Scam Home Cleaning Apps in Malaysia [And Where to Find Legitimate Ones]](https://www.recommend.my/blog/wp-content/uploads/2022/08/scam-cleaning-apps-1000x563.jpg)


